


EComposer is #1 Drag & Drop Page Builder that helps you create professional Shopify websites without any coding. Provide 100+ design elements and 300+ templates, there’s no limit to what you can build. Install EComposer for free today and start building the store you’ve always wanted.
How To Create Sticky Add To Cart for Shopify Store
Table Of Contents
ECommerce has been widespread rapidly over the world over the past few years, and it has significantly adjusted consumers' shopping habits. According to GWI, 58% of customers worldwide now favor online shopping.
If you’re running an online business on the Shopify platform, and still struggling with improving Customers’ shopping experience to maximize value and sales, you must know how to create Sticky Add to Cart on your store.
Let’s dive into this blog How to Create Sticky Add to Cart on Shopify store to get our instructions fully and make your customers’ purchase experience much better.
What is Sticky Add to Cart?

The sticky add-to-cart bar follows a customer around to improve the customer experience and boost conversions. When a customer scrolls down the page in search of more items to add to their cart, the cart button follows them as they move about the page.

Benefits of sticky add to the cart
Eliminate cart abandonment rate

The majority of store owners struggle greatly with online shopping cart abandonment. The missing of a fixed add-to-cart is one of several factors contributing to this issue.
A sticky add-to-cart on your will always be visible at the top of the page when you add a sticky add-to-cart button to your site, even when clients scroll down the page, so your page can draw customers in and enhance your conversion rate by lowering the rate at which they leave their carts unattended.
Show brief product details

A sticky add-to-cart button on your store will help you display brief product details like name, price, image, quantity, etc. With this, customers don’t need to open a new tab to view the product details as they can see everything inside this sticky cart itself.
This enhances the user experience and makes the checkout process simple and easy for them.
How To Add Sticky Add to Cart on Shopify store
1. Add Sticky Add to Cart App
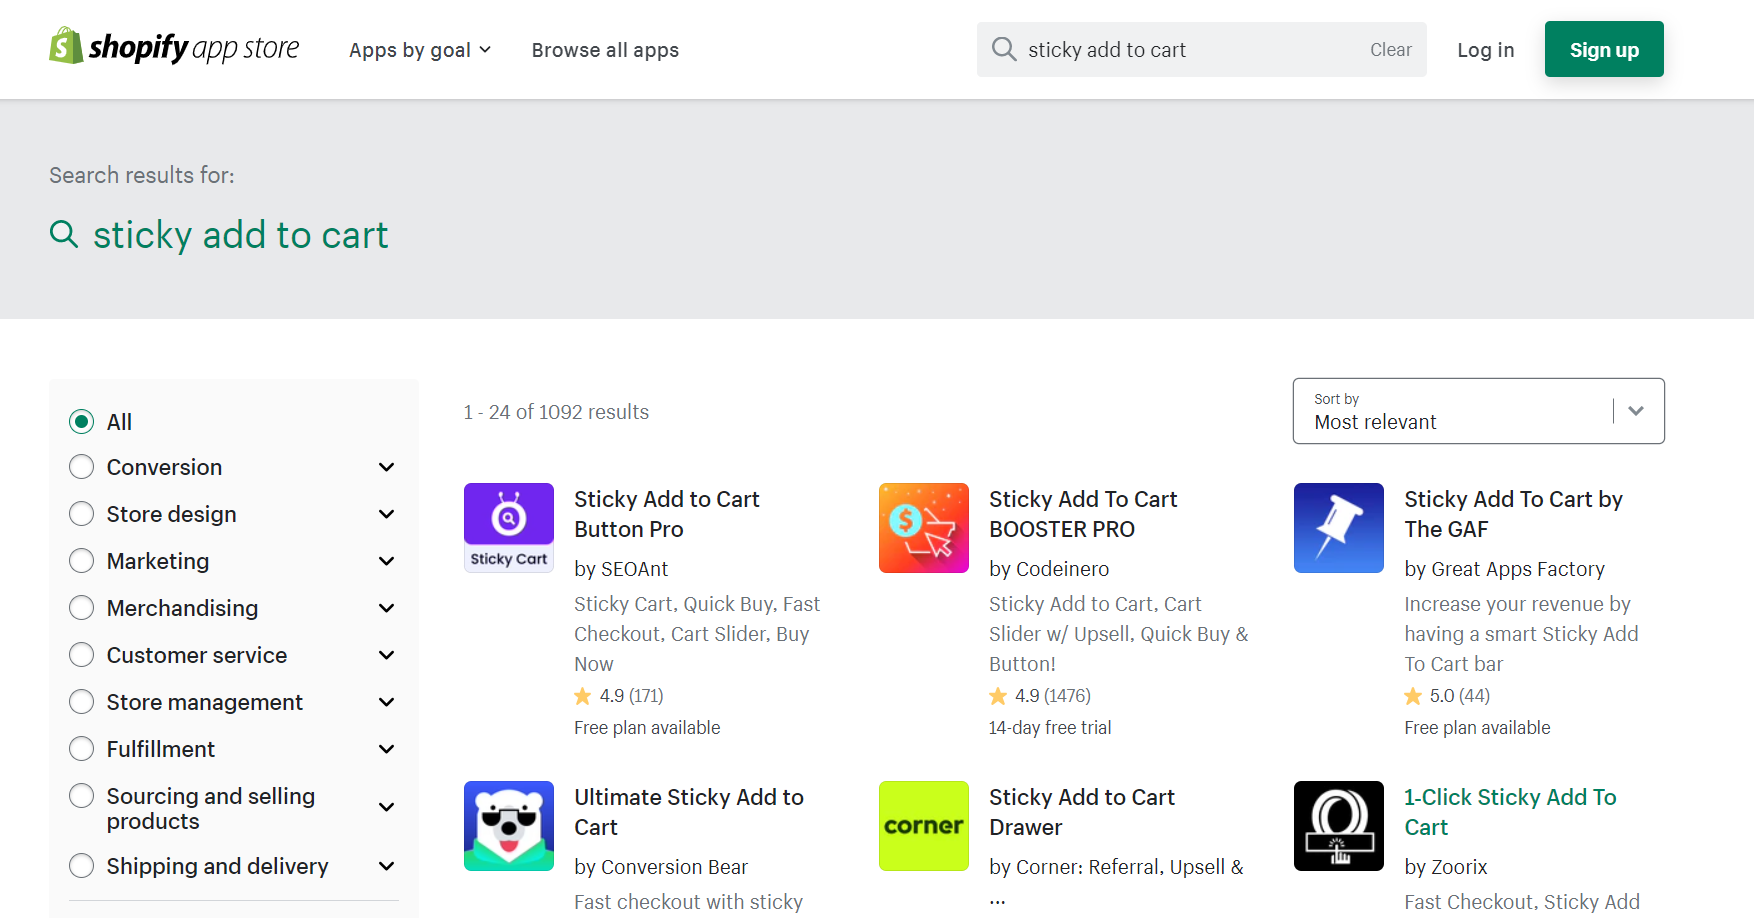
When searching the keyword “ Sticky Add to Cart” on Shopify App Store, you will find out diverse Apps that assist you in creating sticky add to cart.
However, most of them only give you a short free-trial time (from 7 to 14 days using free), then you have to pay to continue using those apps. Moreover, excessive use of third-party applications can reduce your website speed.
The application has a fairly simple function and configuration, but it would not a cost-effective choice for you. Try EComposer to see how to go beyond basic function.
2. Add EComposer Extension
If you install EComposer - Landing Page Builder, to build pages like the product, landing, blog, etc., you can also draw more conversions with Stick Add Cart - one of the cool features in EComposer’s extension library. This feature is available even if you use EComposer's plan.
Please follow the steps below to apply Sticky Add to Cart for your store.
Step 1: Add EComposer Landing Page Builder to your store.
Step 2: Open the Extension popup, you have two ways:
- Click on the Extension icon at the top left corner.
- Under the Extension tab, click Add more.

Step 3: In EComposer’s Extension library, you can instantly find out and install the Sticky Add Cart extension.

Step 4: Adjust Sticky Add cart’s setting.
In the Setting option of Sticky Add Cart, we have:
- Enable sticky cart: To turn on or show the Sticky cart without uninstalling the extension.
- Disable on Mobile: to let the Sticky cart only be shown on Desktop mode.
- Image size: we give you various options such as Thumb, Default, Compact, and Medium for the size of the product image on the sticky cart bar.
- Layout: Set the Simple option to display the key elements, like as the amount or ATC button, and the Full swatch option to show all the variants you have set for that product.
Then click the "Save" button to view it from the Live Page

For a full guideline, please check out this tutorial.
Upgrade your store now to try this cool extension.
Final words
We sincerely hope that our instructions will be simple for your eCommerce business, and drive more sales for your business. Please feel free to share our guide with your social network group if you find it useful. We greatly appreciate your concern.
Also, don't hesitate to get in touch with us if you have any questions. We are always eager to hear from you.
Don't forget to let us know via live chat from the EComposer app if you need any help.
=================
Install EComposer Here
Follow Us on Facebook
Join Official Community


1 comment