


EComposer is #1 Drag & Drop Page Builder that helps you create professional Shopify websites without any coding. Provide 100+ design elements and 300+ templates, there’s no limit to what you can build. Install EComposer for free today and start building the store you’ve always wanted.
How To Create A Custom Page Template In Shopify
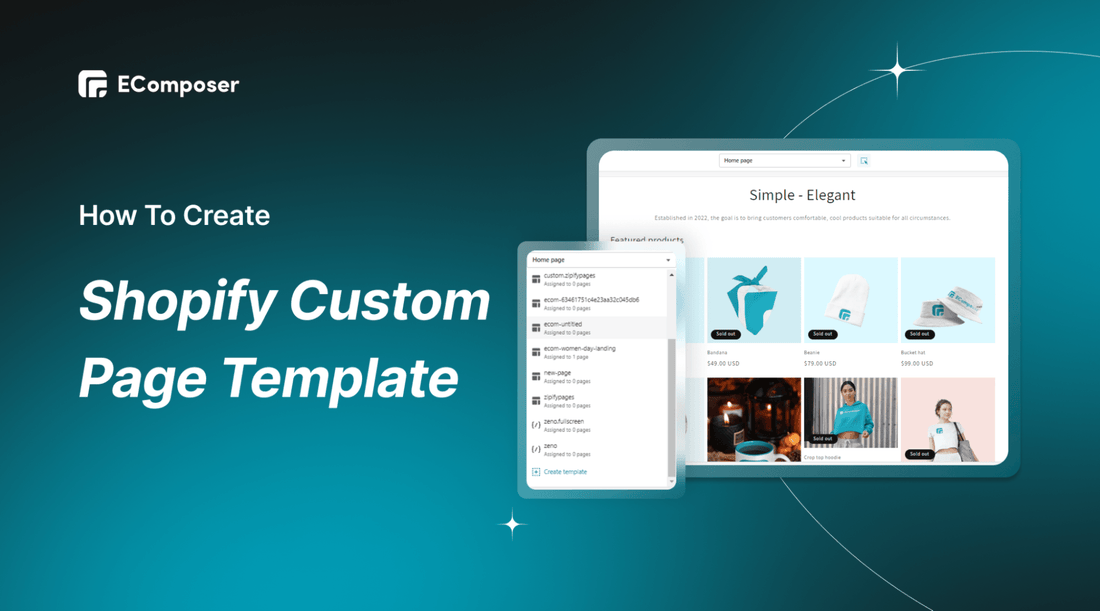
Table Of Contents
When you choose a Shopify theme for your store, Shopify will suggest default templates for every page such as home page, product page, collection page, checkout page, blog page, password page and so on. With the options available, you just need to arrange your products to fit that page template. If your business needs more than the default page templates or you want to design your own, how do you do it?
In this blog, we will show you How to create a Shopify Custom Page Template. We guarantee that after reading this blog you will create your own unique template.
Before going into the details, make sure you have built an eCommerce store on Shopify!
What is a custom page template?

A specific type of template file that can be used for a page or a set of pages is called a page template. Businesses often use page templates to reduce research and design time. However, human creativity is limitless, and many businesses feel the need for more than what the page template has and they decide to use a custom page template.
A Shopify Custom Page Template is a page that uses templates you create yourself and design to suit your purposes. It allows users to incorporate special requirements such as right/left sidebars on a certain page, an additional call-to-action feature, or even a different banner for a specific landing page.

How to create a custom page template using Shopify's default
If you want to use Shopify default to create a custom page template, we will give the following 2 methods.
Follow along step-by-step so you won't have a hard time creating a custom page template!
Method 1: For Shopify 2.0 themes only
Step 1: From the dashboard, go to Online Store and choose Customize button in Themes

Step 2: After going to the edit page, at the top of the screen, click the drop-down menu, select Page and Create Template

Step 3: Enter a name for the new page template and click Create Template button.
The page template has been created but it doesn't have any content yet, so edit it to your liking.

Step 4: After editing your new page template, click save and publish to launch your page
Method 2: For all Shopify themes
Step 1: Create a Template
- Open Online Store from Shopify Admin and click Themes
- Go to Actions and choose Edit Code.

- Under the Templates folder, click on Add a new template.

- Select Page from the Create a new template for the dropdown list.
- Keep the Template type “JSON” if using Shopify 2.0 themes or “liquid” for other Shopify themes.
- Give a name to your new product page template.
- Click Done.

Step 2: Replace main page with custom page
- This file should be blank, so remove all the code from the newly created page template.
- Open page.json for Shopify 2.0 themes or page.liquid for other themes from the Templates folder.
- Now copy all the code in the page.json and paste it into your new page template.
- Replace the “main-page” with “custom-page” in your new product template.
- Save the changes by clicking the Save button.

Step 3: Paste the content from the main-page.liquid file into the custom-page.liquid file
- In the Sections directory, click Add a new section.
- Name your new section file ‘custom-page‘.
- Click Create section. Your new file will open in the code editor.
- Delete all of the default code.
- Copy all of the content from your main-page.liquid file (in the Sections directory), and paste it into your new custom-page.liquid file.
- Click Save.
How to create a custom page with EComposer - Landing Page Builder
The downside of using Shopify's default to create a custom page is that it's easy to get confused. In some cases, you even have to understand the code to create a Shopify Custom Page Template. Therefore, we bring you how to create a Custom Page Template for Shopify with EComposer - no coding required and no confusing steps.
When using EComposer you will have 2 methods to create a custom page template. If you are a newbie, we suggest method 1, you can completely customize the page based on the available template. Method 1 helps you both create your own page and not spend too much time thinking about ideas to design.
If you still want to try your own custom page template, no need for a pre-made template, you can absolutely choose Method 2
Ok, by now, let's go through both and apply the one that works best for your Shopify store.
Step 1: Install EComposer - Landing Page Builder
- In the Shopify app store, look for EComposer - Landing Page Builder, and then click add app
- To activate the use of the app, click Install.

Step 2: Create a custom page template
- In your Shopify admin, go to Apps, and click on EComposer Landing Page Builder

- Choose Start Building and click Standard Page

Step 3: Create a custom page template
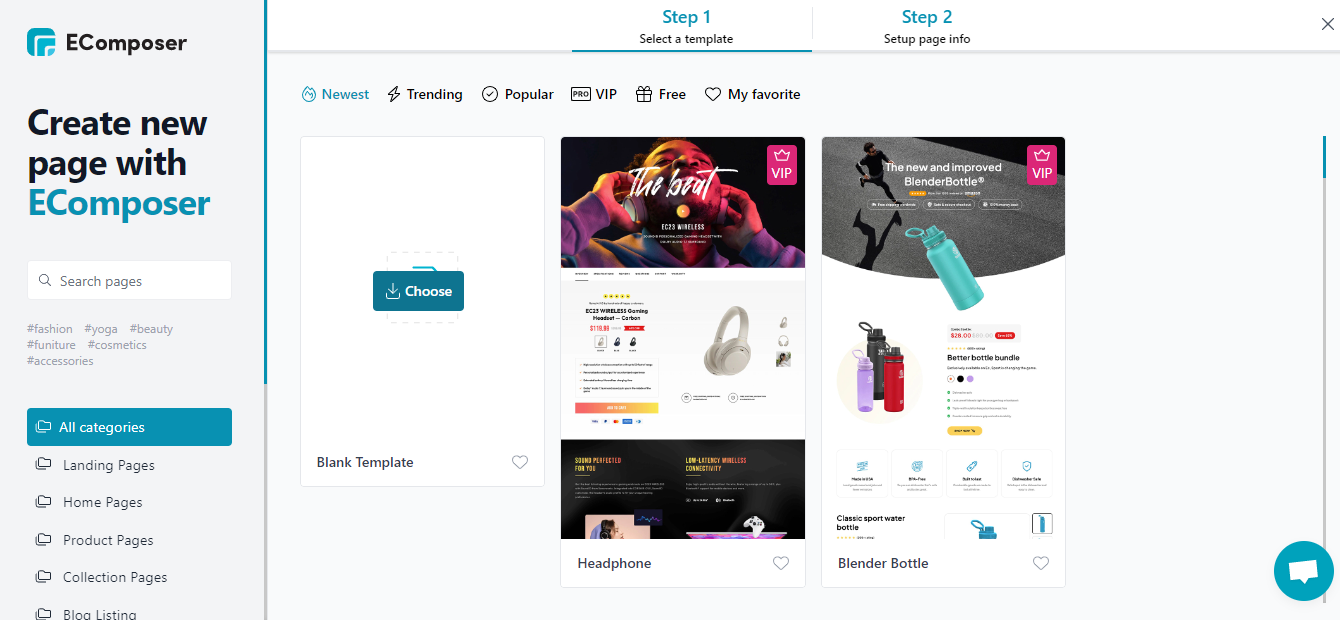
Method 1: Using Premade page template of EComposer (customize premade page templates)
- After going to the edit page, the app will direct you to a new page with many page templates. Choose a template that's right for you

- Customize page templates with live drag and drop
Once you have applied the template to the editor, you are free to add and edit it by dragging and dropping where you want any section, extension, or element.

Method 2: Create a page with a blank template
After going to the edit page, the app will direct you to a new page with many page templates. Choose Blank template
Fill in the blank to name the page, and then click Start Building.

Visit help.ecomposer.io for instructions on how to use EComposer's editor
Step 4: Save and publish
Once you've finished your customizations, you need to save your edits. EComposer gives you different options to save
- If you want to publish your page, select Publish, customize and select Save and publish

- If you don't want to make your page public yet, click on the little arrow next to the Publish button and choose Save as draft.

Wrap up
With the ways we mentioned in the blog, you can create your own custom page templates and have a professional-looking website. If you want more information or want to learn more about EComposer, follow us at ecomposer.io or click on the message icon located in the right corner of the screen.
=================
Add EComposer Next generation page builder Here
Follow Us on Facebook
Join Official Community


0 comments