


20+ Shopify Store Launch Checklist for New Store Owners [2026 Updated]

Table Of Contents
Are you prepared to launch a Shopify store in ? This checklist has you covered! With an average of 2.1 million users active daily, it's clear that many entrepreneurs are finding success on this Shopify platform.
Launching a new store is exciting—it's the first step in your business journey. But before you hit that go-live button, take a moment to ensure everything is working perfectly. Our Shopify launch checklist outlines critical steps, from adding a custom domain to configuring payment options, to help you launch smoothly and successfully. These steps will help increase your chances of a stress-free and successful store launch.
Before You Start
Before beginning to build your Shopify store, you must clarify your goals. Question yourself: Do you want to sell products online and in person? Are you interested in selling through social media channels like Facebook? Answering these questions will keep you focused and shorten the setup process.
- Seek advice from experts related to your business, especially about taxes and law.
- If you already have an ecommerce website, consider transferring it to Shopify.
- Decide which sales channels you want to use.
- Learn about Shopify's point-of-sale hardware if you're going to sell in person.
- Consider which Shopify pricing plan will best meet your needs.
If you haven’t had a Shopify account yet, seize the opportunity to benefit from a special offer: only $1 for the first 3 months for all plans to experience Shopify from A-Z.
1. Prepare a Coming Soon Page.

(Image Source: EComposer’s Template)
As you prepare to launch your new website, making a solid first impression is critical. Consider setting up a maintenance mode or a coming soon page to prevent visitors from encountering an unfinished site and getting the wrong idea.
This signals that your site is in progress and will be ready soon. You can even gather email addresses from interested visitors to keep them updated on your launch and start building a customer base. Shopify users can also employ password protection to add security during this phase.
Explore more about How to Create a Shopify Coming Soon Page here.
2. Register a Website Name and Domain
Your website name and domain aren’t just the virtual addresses guiding customers and search engines to your online store; they’re vital to building brand recognition and awareness. A memorable website name helps keep your store at the forefront of customers' minds. But don't be too concerned about it. You may change your Shopify store name whenever you wish. Here's what to consider:
- Navigate Shopify dashboard > Settings
- Choose Store details then Edit name

- Brainstorm a memorable name: Keep it short, sweet, and easy to spell and pronounce.
- Target your audience: Incorporate relevant keywords that reflect your products or niche. This can boost your search engine ranking.
- Double-check Legalities: Once you’ve settled on a name, quickly verify if the domain is still accessible. More importantly, confirm that a trademark does not already protect your chosen name to avoid legal headaches later.
Finding Your Perfect Domain:
Now that you’ve sorted the name, let’s talk about the domain. You can buy a domain name directly through Shopify, with prices starting at $14 per year, and you have the flexibility to cancel or change it whenever necessary.
What if your "dream domain" is already taken? Don't freak out! If your preferred .com is unavailable, try these creative approaches:
- Add a functional prefix: If you are a clothing brand, consider prefixing your name with "wear" (e.g., wear[brand].com).
- Get creative with TLDs: Look beyond the standard options. Use a top-level domain (TLD) that matches your niche, such as .coffee for a cafe brand, or .store and .shop for general retail.
- Think outside the box: Take a cue from the SEO tool Topic, which successfully utilizes the domain UseTopic.com.
Pro Tip: Utilize Shopify’s built-in
3. Customize the Design of Your Store
To run a successful Shopify store, it's essential to choose an attractive and functional theme. The theme is the foundation of your entire storefront, so take some time to explore the options and pick one that suits your needs.
With numerous free and paid themes in the Shopify theme store, finding the right one might seem overwhelming. Therefore, if you need a reliable and experienced Shopify theme provider, we suggest The4 Theme on Themeforest throughout this journey.

In addition, your Shopify store represents your eCommerce business, so take your time with a generic design. Instead, remember to also customize your store to reflect your unique brand and style. Take these into considerations:
- Alter colors, fonts, and layouts with theme editor.
- Use professional product and lifestyle imagery to help clients visualize themselves using your items.
- Make sure your store is easy to navigate.
- Ensure that your business looks fantastic and runs properly on all screen sizes.
For a truly unique shopping experience, add a custom code to your store's theme. This can enhance your store's design and functionality, and an experienced Shopify developer or designer from The4 team can help you achieve this. Alternatively, if you prefer a no-code approach, you can use powerful page builder apps like EComposer or other popular drag-and-drop tools. These apps allow you to customize every detail of your store’s layout with ease, giving you professional results without needing to write a single line of code.
4. Add Products to Your Online Store
Adding products to your Shopify store is straightforward, and you have a few options. The easiest way is to add products manually, one by one. This method is excellent if you have a small number of products or want detailed control over the product information displayed in your store.
To add a product manually, go to your Shopify admin, click on Products, and then Add Product. You can enter your product's details, such as name, price, and description. You may also promote your items using photographs, videos, and other media.
Using a CSV file is a good alternative if you have many products to add. This method is efficient for bulk uploads and saves time.

5. Organize Your Site Menus and Navigation

Your store’s navigation should make it easy for customers to find what they need quickly. When setting up your site menus, remember that simplicity is vital. Avoid overwhelming visitors with too many options.
Here are some tips for organizing your site menus and navigation:
- Group your products into collections.
- Use drop-down menus to keep everything tidy and organized.
- Add a search function to help visitors find exactly what they want.
- Use clear and concise labels for your menus and navigation items.
6. Create Stunning Standard Pages
Building trust in your store hinges on having essential pages that reassure customers of your business’s legitimacy. These pages provide crucial information about you, your policies, and how to get in touch. Customers expect these details, and they help build confidence in your brand.
Based on research, the most recommended pages to include in your online store’s sitemap are:
- Homepage
- Contact page
- About page
- Frequently Asked Questions (FAQ) page
- Shipping and returns policy page
- Terms and conditions and privacy policy pages
Don’t forget other essential pages like collection and category pages, product pages, promotion landing pages, the checkout page, and the shopping cart. Every customer touchpoint deserves careful attention!
*Tips: If you are not an expert in technical stuff, EComposer Drag & Drop Shopify Page Builder is tailored specially for you. No code knowledge is needed to build any pages on your store.
Especially for new merchants just beginning to enter the online market, the app's vast library of templates helps you get started quickly or create custom pages, from captivating landing pages to appealing homepages to informative blogs.
- Homepage:
The homepage is often the most crucial page on an eCommerce site. It’s usually where potential customers first land or navigate to next. Think of the homepage as the site of a "first date" with your customer—it’s your chance to make a great first impression and set the tone for your brand.
Your homepage should also serve as a gateway to the rest of your site. Ensure straightforward navigation to help users browse your store and include strong calls to action (CTAs). Prominently link to category pages, product pages, and promotions.
Examples from Houseplant and Bear Walker below show effective use of catchy visuals that reflect the brand’s vibe, clear CTAs, and easy navigation to other parts of the site.


- About Page
Your About page is where potential customers go to learn more about your brand, mission, and the people behind your products. As a store owner, you can approach this page in several ways to appeal to visitors:
- Tell a story: Customers want to know that a business is stable and trustworthy. Use your About page to show that real people run your store. Share your story and introduce your team, processes, and local community.
- Connect on shared values: Many shoppers care about a business's mission and values. By sharing your brand’s purpose, principles, and reasons for being, you can attract customers who support similar causes.
Examples from Mailchimp and Ollie photos of the businesses assure that real people are behind these brands. They also effectively use storytelling to engage visitors.


- Contact Page
A contact page reassures customers that your store is genuine, offering them a way to reach out for help and confirming there are real people behind the brand. To build lasting trust, make it effortless for customers to reach you by providing multiple communication channels, including email, phone, or live chat, and a physical address (if applicable), along with details on how to contact you and expected response times.

(Image source: EComposer’s Template)
*Tips: Consider adding live chat or a chatbot, usually accessible via a small icon in the bottom right corner of every page. This provides a quick way for customers to reach you without navigating to the contact page.
- Frequently Asked Questions (FAQ) Page

(Image source: EComposer’s Template)
Before launching your store, you might only predict some of the customers' questions. Your FAQ page will evolve based on customer interactions. To create an effective FAQ page, check competitors' websites to see the questions they answer or use an AI tool to generate FAQs. Common topics include shipping, return policies, sizing, warranties, and product care.
- Shipping and Returns Policy Page
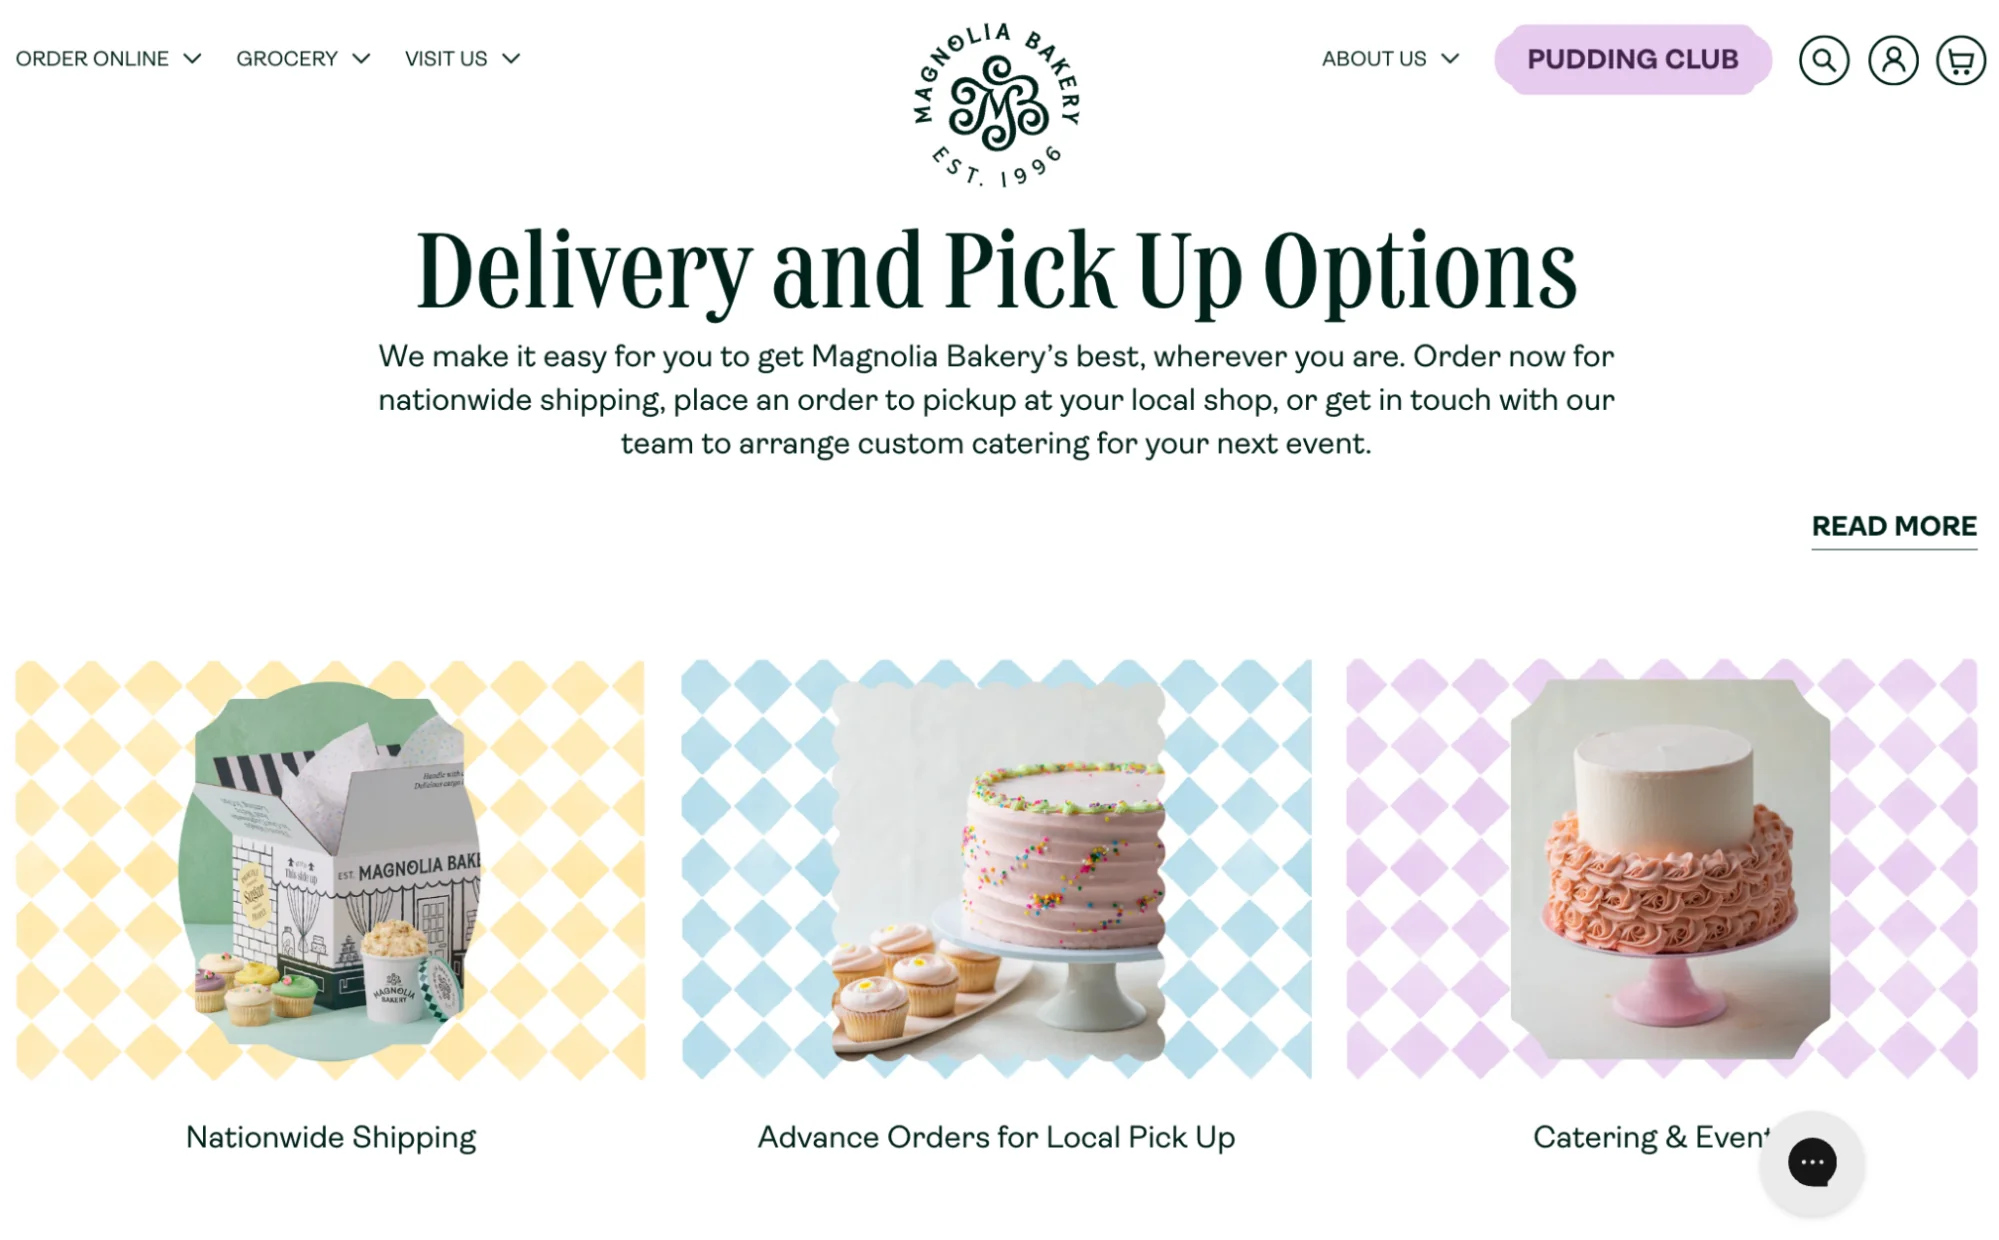
(Image source: magnoliabakery.com)
This page is crucial for helping customers understand what to expect with shipping and returns. Clearly outline costs, fulfillment and delivery times, who handles duties and taxes, and the steps for processing a refund.
- Terms and Conditions and Privacy Policy Pages

(Image source: Maguireshoes.com)
The terms and conditions and privacy policy pages provide essential legal information to protect your business and your customers' rights. They also set clear expectations for both parties.
Others also read
7. Creating Essential Contents

Appealing content is the basis of any successful online shop. High-quality content would help customers feel your store more trustful, and ultimately drive sales. Here's what essential content you should create for your Shopify store:
- Marketing Page Content includes your homepage, About page, and landing pages, which introduce your brand to customers. They often use visuals like photos and videos to engage visitors.
- Product or Service Pages highlight what makes your offerings special, address customer questions, and encourage purchases with reviews and a clear call to action.
- Blog Posts offer informative articles that educate and entertain your audience, helping with SEO using relevant keywords.
- User-generated content, like reviews, builds trust by showing real people enjoying your products or services.
- Case Studies demonstrate real-world success stories, showing how your offerings solve specific client problems.
- Downloadable Content, such as ebooks or guides, offers valuable resources in exchange for contact information.
- Help Center Content answers common customer questions, reducing the need for support and improving customer satisfaction with clear instructions.
Quick Tips for Content Optimization:
Before hitting "Publish," ensure your content is polished and professional by following these simple steps:
- Review with "Fresh Eyes": Minor mistakes in spelling or punctuation can hurt your credibility. Review your content a few hours after uploading, or try reading from the bottom up to catch errors you might otherwise overlook.
- Maintain Consistency: Follow a consistent editorial style guide (e.g., your stance on the Oxford comma). If your brand uses creative or "made-up" terms like Etsy or Pinterest, ensure they are used uniformly across all pages.
- Technical Health Check: Double-check that every link functions correctly. Broken links lead to a poor user experience and can negatively impact your SEO.
-
Cross-Device Testing: Verify that your content renders perfectly on various browsers and mobile devices. A mobile-responsive store is non-negotiable for success in 2026.
8. Optimize Images Quality
Slow-loading images can significantly impact user experience and search engine performance, potentially leading to lower conversion rates. Ensure all images, including product and lifestyle photos, are optimized for the web to enhance load times and provide a smoother shopping experience.
Shopify handles the technical intricacies of image optimization, recognizing the importance of speed for online stores. Additionally, consider the following suggestions to enhance load speed and optimize your photos for the web:
- Use descriptive file names containing relevant keywords to enhance SEO ranking.
- Optimize alt text for accessibility and SEO, incorporating descriptive keywords where appropriate.
- Reduce image size while maintaining quality, especially for homepage impact. Aim to minimize file size (in pixels) without compromising image quality.
- Save images as JPEG for photography and PNG for graphics and icons, ensuring optimal image format selection.
- Conduct A/B testing on images to determine effectiveness and suitability for different contexts, such as lifestyle images versus product-focused images.
*Tips: To further enhance user experience with images, you can display optimized images in engaging, shoppable galleries. This creates a seamless browsing experience that invites customers to explore your products, boosting both satisfaction and conversions. We recommend trying Nitro Lookbook, an app equipped with everything you need to create interactive images and lookbooks for your Shopify store.
9. Add Analytic Tools and Tracking
Setting up analytics right from the start is essential. This data gives you valuable insights into your website visitors and customers. Analytics tools help you see how users move around your site, where they come from, and where they might face issues. With these insights, you can continuously improve your site as your business grows.
Shopify provides built-in analytics on its ecommerce platform, giving you access to data directly from your dashboard. You may also utilize Google Analytics and Google Search Console, as well as other choices suited to your specific needs. It's a good idea to start by tracking basic ecommerce metrics.
*Tips: Check out the EComposer 5 built-in analytic tools that work seamlessly with your store. Look into the analytics of each page to find customer behaviors.

10. Set Up Payment Methods
As an online store owner, it's vital to establish payment methods that prioritize convenience for your customers while ensuring security for your business. Shopify offers a variety of payment alternatives.
You can choose between Shopify Payments or integrating a third-party payment gateway like PayPal. For newcomers, we suggest utilizing Shopify Payments because it is simple to set up and initiate payments seamlessly within Shopify.
To configure Shopify Payments, navigate to your Shopify admin and access Settings > Payments. Here, input your business details and select the credit cards you wish to accept.

Consider offering alternative online payment methods such as Meta Pay, Amazon Pay, or Apple Pay to streamline the checkout process and spare customers the hassle of entering card details.
Regardless of your preference, invest time setting up your payment methods correctly. A few extra minutes of effort now can prevent significant complications in the future.
11. Optimize Your Checkout Experience
Make sure prospective buyers can complete the checkout procedure before you actively promote your Shopify business. According to research, the average percentage of cart abandonment is 70.19%. This implies that, on average, seven out of ten customers will leave your business without buying anything.
As an e-commerce entrepreneur, the most significant thing you can do is minimize friction and preview your checkout process. Keep it as simple and educational as you can. Items to look out for consist of:
- Shipping costs are shown at the time of checkout.
- In the cart, discount codes can be used and function as intended.
- Customers can make changes to their carts.
- Reputable payment options are accessible, and clients are free to select the one they like.
- Option to track order status
- Contact page that is easily accessible in case the order has to be changed
- Order receipt and purchase confirmation by email
- Unambiguous shipping guidelines for sales to foreign countries
- Options for converting languages and currencies for overseas sales
- If you want to utilize Shopify Payments, you can test orders using the live gateway on your website to ensure everything functions properly.
13. Provide Your Billing Information
Remember to enter your billing information as your three-day free trial winds down. This will allow you to handle orders in the future.
To add your billing details:
- Head to the Settings section on your Shopify Dashboard.
- From there, click on Billing and fill out your information in the Billing Address section.
- Once you've done this, hit Confirm to finish.

14. Set Up Email Notifications
Email is an essential component of running your shop for promotion and direct consumer communication.
Before launching, spend some time configuring the email alerts so they complement the rest of your branding. To change the templates for your emails, go to Settings > Notifications. You can upload your logo, alter the messaging, modify the colors, and more.

Email notifications consist of:
- Order emails: Confirmation, edited, canceled, reimbursed, draft order invoice, abandoned checkout, exchange receipt at the point of sale, gift card created, Error Paying
- Emails related to shipping: Out for delivery, updated, confirmed, and delivered
- Emails for local pickup and delivery: Ready for Pickup, Picked Up, Delivered, Missed Delivery
-
Emails from customers include: Contact Customer, Password Reset, Account Information, and Account Welcome.
. Secure Your Shopify Store
Before you launch your store, take a moment to activate two-factor authentication (2FA) on Shopify.
Two-factor authentication (known for multi-factor authentication or two-step verification) provides an additional layer of protection to your login process. In addition to your password, you'll need to provide another form of verification, like a one-time code from an authentication app or a security key.

16. Install Apps and Integrations
When browsing the Shopify App Store, remember to start small and focus on selecting only the crucial apps for running your business efficiently. You can always add more as your business grows.

For new ventures, it's best to begin with apps that support designing, marketing, customer service, and increasing sales. Also, consider apps that cater specifically to your industry. For instance, a boost sales app is one of the necessary tools that every store needs to improve the conversion rate.
Similarly, brands offering intricate products can enhance the customer experience and minimize returns by utilizing quiz apps to assist customers in making informed choices.
17. Invest in Search Engine Optimization (SEO)
If you're looking to bring more people to your Shopify business without paying for ads, getting your website to show up higher in search results is crucial.
That's where Search Engine Optimization (SEO) comes in. It's about making tweaks to your website so it ranks better in search engines, which naturally brings in more visitors.

For Shopify stores, there are some simple SEO techniques you can use to boost your website's ranking:
- Choose a memorable, unique name for your store that incorporates relevant keywords.
- Write compelling product descriptions that include important keywords.
- Use high-quality images and videos to spot your products.
- Don't forget to add SEO-friendly titles and descriptions to every product, collection, and page on your store.
18. Submit Your Sitemap to Search Engines
An important part of your Shopify launch is making sure your customers can find your site by submitting your sitemap to search engines.

Example of Apple HTML Sitemap
A sitemap is a file which identifies all of the pages on your website, and publishing it helps search engines keep up with your site.
Additionally, using Search Console gives you insights into the keywords people are using to find your site. With this information, you can tweak your site to ensure it shows up in search results for the right reasons.
19. Add Some Sales Channels for More Revenue Streams

These days, customers expect brands to be everywhere—online, in stores, and on social media. Many people now discover and buy products on platforms like YouTube and TikTok. Surprisingly, in-store shopping is also making a big comeback, with half of Gen Z preferring it even though they grew up online.
To reach your customers effectively, choose the social media and marketplace channels that best suit your brand and integrate them with your Shopify store. Research where your customers spend their time and shop most often.
Here are some online sales channels you can add to your store:
- eBay
- Amazon
- Instagram and Facebook
- Google Shopping
- TikTok
- Buy Button and Checkout links
These channels connect easily with Shopify, so you can keep track of orders, inventory, and customers all in one place.
20. Build a Pre-Launch Marketing Plan

Launching your store is exciting, but it’s important to build some hype beforehand to attract visitors right from the start. Here’s how you can create a buzz before your store goes live:
- Spark Conversations: Get people excited by asking for their opinions and encouraging them to share your posts.
- Build Your Email List: Create a simple sign-up page to collect email addresses from interested visitors. Offer them something special, like discounts or early access to your products, to sweeten the deal. These email addresses will be like gold when it's time to send out launch announcements and exclusive offers.
- Team Up with Influencers: Partner with influencers who vibe with your brand's style. They can help create more words about your upcoming store and introduce you to a wider audience.
- Share Helpful Content: Start a blog or create content that speaks directly to your target audience and ties into your products. This not only helps improve your visibility online, but it also creates your brand image as a trusted expert in the market.
- Invest in Ads: Put some money behind targeted ads on social media or Google to connect with potential customers. Even a small budget can go a long run in getting your brand popular by the right people.
By creating excitement and gathering a list of interested customers before you launch, you’ll set your store up for a successful opening.
21. Test Your Shopify Store Before Launching
All your hard work will be wasted if your customers run into problems while trying to place orders. It could be anything—a coupon not working, shipping prices not updating, or a payment gateway being down.
These issues can cause customers to abandon their carts, leading to lost sales. So, it’s crucial to test your shopping cart and checkout process thoroughly before launching your Shopify store.
Try creating a dummy account and placing an order to make sure everything works smoothly. You can also ask friends or family to place orders and give you feedback.
22. Put Yourself in Customers’ Shoes
To really make your eCommerce store a hit, you need to see it from your customers' perspective. The best way to do this is to actually shop on your own site.
Think about what you'd want to buy and why. Notice any issues you run into while browsing, picking out products, and checking out. This will help you spot problems that your customers might face.
Look out for:
- How well your website performs (Is it slow or fast? Is it smooth?)
- How easy it is for customers to navigate
- How simple it is to place orders and check out
By shopping on your site like a customer, you can identify and fix any issues, making the shopping experience better for everyone.
Post-Launch Checklist for your Shopify store
Launching is just the beginning. To always stay competitive, focus on these two pillars:
- Data-Driven Monitoring: Use Shopify & Google Analytics to track traffic, conversion rates, and AOV. Identify where visitors drop off to fix friction points and ensure a seamless journey.
- Continuous Improvement: Don't stop at launch. Regularly update your store based on customer reviews and behavior. Use this feedback to refine your products, design, and service.
The Goal: Constant iteration fosters customer loyalty and keeps your store ahead in the ever-evolving e-commerce landscape.
Final Words
That's it for our Shopify store launch checklist!
Taking the time to complete a pre-launch checklist can save you from a whirlwind of last-minute stress and scrambling. These tasks are essential for a successful Shopify store launch.
By following this Shopify setup checklist, you can ensure that you've covered all the necessary bases and are well-prepared for a successful launch. If you ever find yourself stuck, our team of Shopify experts is just a message away.—just reach out and share your needs with us.
We hope our guide will be helpful and enjoyable. If you have any questions or suggestions during the preparation for launching or anything else, we would love to hear from you in the comments below!
=================
Add EComposer Next generation page builder Here
Follow Us on Facebook
Join Official Community
Build your highest-converting page in 15 minutes


Blog Categories


0 comments