How To Create A Waitlist On Shopify? (No-Code)

Table Of Contents
Creating a waitlist on Shopify can turn a potential lost sale into a future opportunity. In this guide, we'll explore how to create a simple yet effective waitlist on your Shopify store without needing any coding knowledge.
What Is A Waitlist On Shopify?
Shopify has a feature called "waitlist" that lets you get email addresses of people who want to buy goods that are out of stock or not yet available. You can send these people an email when the product comes back in stock, letting them know first and giving them the chance to buy it.

Examples of a waitlist on Shopify.
How it works:
Step 1: Customer signs up for a product that is out of stock by entering their email address on a waitlist form.
Step 2: When the product is back in stock, an automated email is sent to all customers on the waitlist.
Step 3: Waitlisted customers often receive early access or exclusive discounts on the restocked product.
As long as you use a waitlist correctly, you can increase sales, make customers more loyal, and make shopping easier.
How To Set Up A Shopify Waitlist?
In Shopify, you can do the following to set up a waiting list for items that are out of stock:
Step 1: Set Inventory Levels To Zero
When your product runs out of stock, set its inventory level to zero. Customers won't be able to buy that product because of this. You can change many items at once by hand or with a CSV file.
To set your inventory levels to zero in Shopify, follow these steps:
- From your Shopify admin, go to Products > Inventory.
- Choose a place from the drop-down box if you have more than one.
- Click the top checkbox to select all products on the page. If you have more than 50 products, click Select all inventory in this store.
- Click Update quantities.

- Click Set and enter 0 for the inventory level, then click Save.

- Repeat these steps for each page of products if necessary.
If you have many products, you can also set inventory levels to zero using a CSV file:
- Click Export to download your product list.
- Open the CSV file in a spreadsheet program and set the inventory for each product and variant to 0.
- Save the file and return it to your Shopify admin.
- Click Import and upload the updated CSV file
Step 2: Install A Back In Stock App
You may download an app from the Shopify App Store and allow customers to register so they can get alerts when the item is restocked. Some of our best-recommended Shopify items that are back in stock are included in the following section.
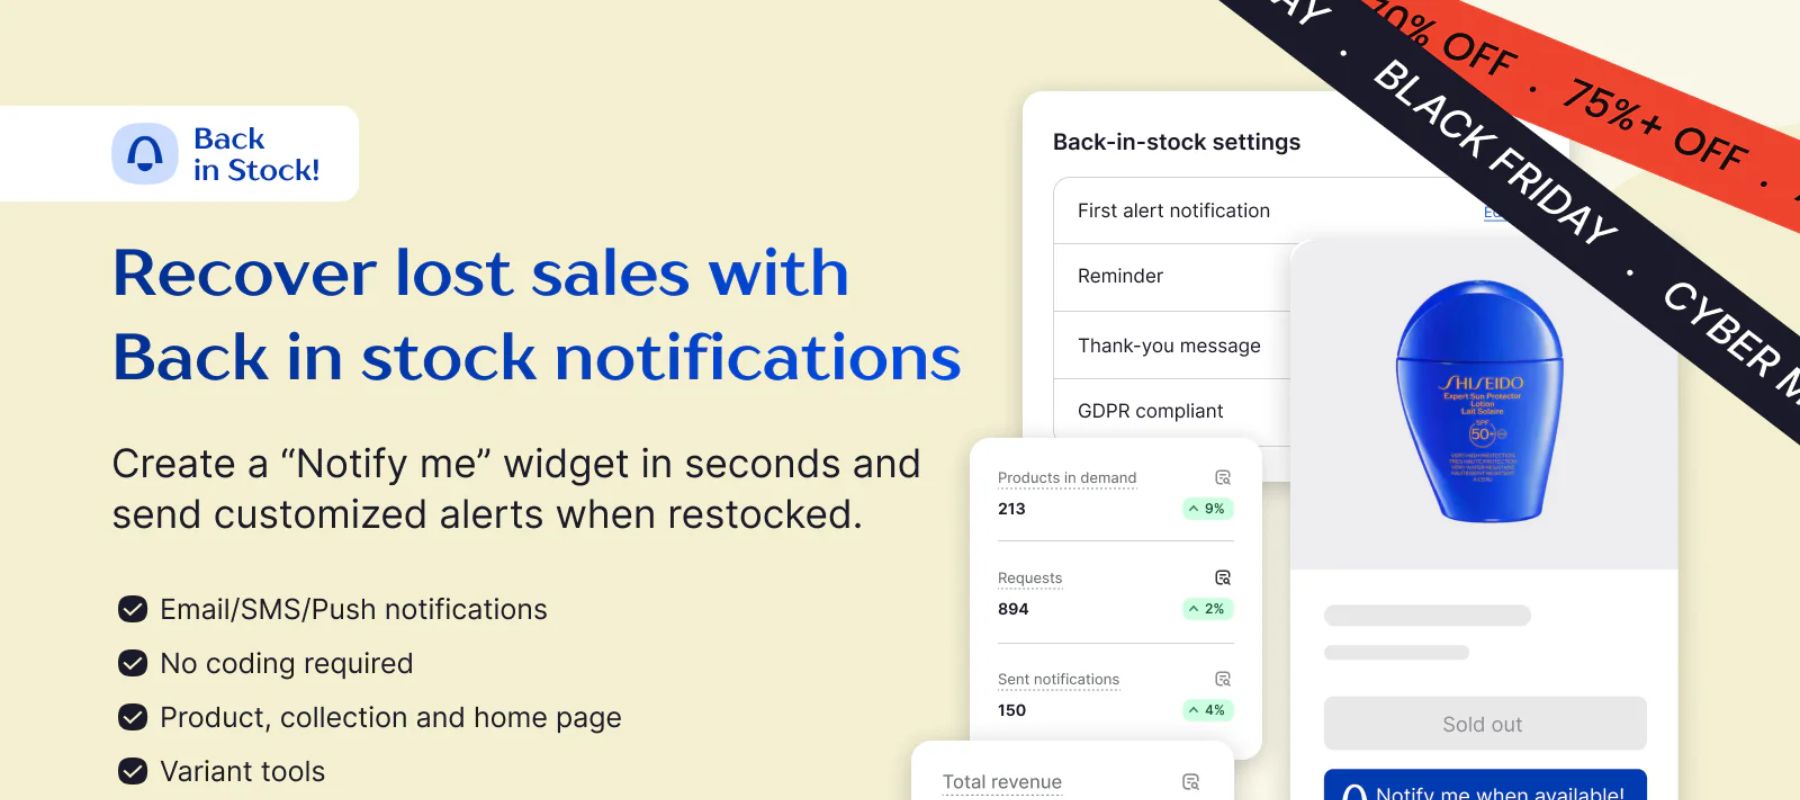
Apps like Notify! Back in Stock app can notify customers via email when the product becomes available again.

Once the app is installed, you need to turn on the "Notify Me!" button and hit "activate app embed" to make the "Notify Me!" app embed work. This will allow widgets to show up on your store.

You can now customize the back-in-stock status by tapping More action > Settings.

Now, you can set up instructions to customize how customers can opt-in for notifications. This usually involves adding a sign-up form on the product page for out-of-stock items.

Step 3: Test Your Feature
Once everything is set up, test the feature by setting a product to out of stock and checking if the notification system works as expected.
By doing these things, you can make a waiting list for your goods that are out of stock.
How To Create A Waitlist Landing Page With A Shopify Page Builder?
A dedicated waitlist landing page can significantly enhance your brand's pre-launch strategy and customer engagement.
EComposer Page Builder is a powerful tool that can be used to create effective waitlists for out-of-stock products. Here's a step-by-step guide on how to set up a waitlist using EComposer:
Step 1: Install EComposer
Firstly, add the EComposer app to your Shopify store from the Shopify App Store.

Step 2: Create the Waitlist Form
To start the app, go to the Dashboard and click on "Apps." Then, click on "EComposer."
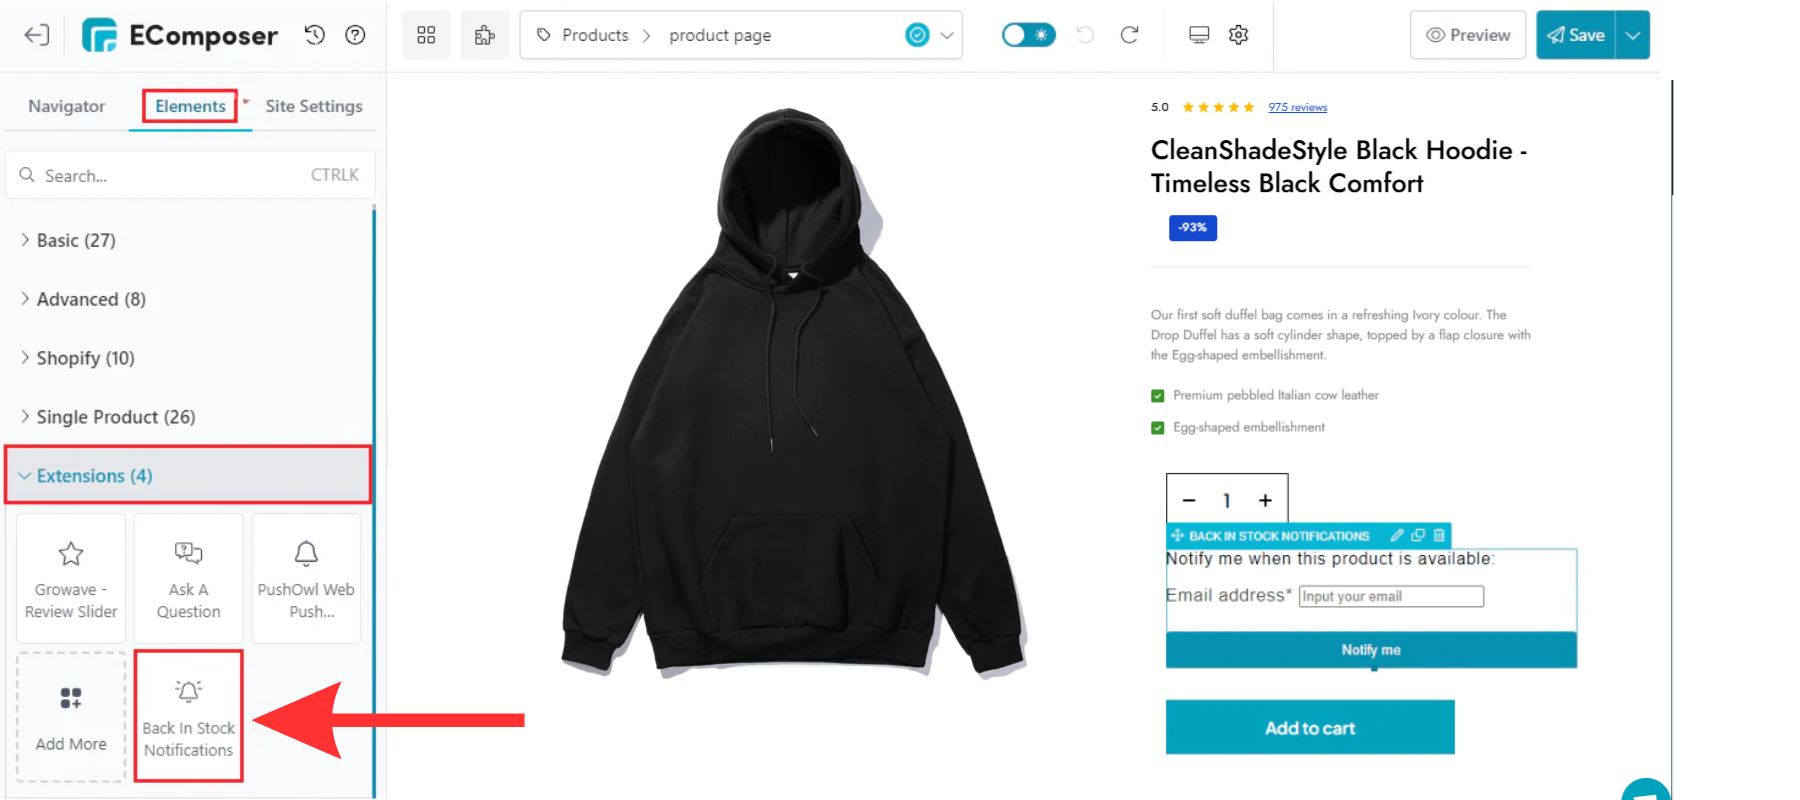
Then, pick the product page where you want to add the "Back in Stock" notice.
The "Extension icon" in the top left corner can be clicked to bring up the Extension popup.

Go to the Extension popup and look for "Back in Stock Notifications." This extension should show up there. Click "Install now" to get it set up right away.

Step 3: Integrate The Waitlist Form
We are going to add the update now that the template has been made in the EComposer App.
Then, close the Extensions Library tab and go to Extension first to find the Back in Stock Notifications extension.

In the second step, you have to Drag and Drop the extension where you want it to go.

- Content
In order to make changes, kindly come here to set some basic things:
- Preview to see the item you want to display.
- Heading it with extra information, write down some of the specifics.
- A button label will change the button's make-sense name.
- Button animation/Loop time to the button with the aid of this.
Design:
- Design options are one of the other special setting effects.
- In general, you can change the Background, Box Shadow, Border, and Border-Radius.
- Heading, including spacing, text shadow, text color, alignment, and typography.
Step 4: Collect And Manage Email Addresses
A customer fills out an email collection form that is made and displayed on the product page in order to receive information about when a product will be restocked.
You will then get alerts to the email address you gave Shopify for the sender.
Suppose you want to see what email it is. To see, go to Shopify settings > General > Edit store detail.

Step 5: Send Notification Emails
You should use the workflow tools in EComposer to let buyers know by email when the product is back in stock.
Then, customize your notification emails with personalized messages and product details.
Looking at the detailed guide here: Back in Stock Notifications - EComposer Help.
3 Top-Recommend Shopify Waitlist Apps You Should Try
Do you want to improve your waitlist performance? These highly regarded Shopify applications are made to optimize client interaction and expedite your waitlist management procedure. These tools may help you with anything from email address collection to automatic alerts.
Let's examine the top choices to improve your waitlist approach.
#1. KB Back In Stock Restock Alert
KB app is particularly suitable for businesses that frequently experience stockouts or have high-demand products. Fashion and apparel retailers often experience seasonal demand fluctuations and stockouts. This app can help them keep customers engaged and informed about product availability.
Rating in 2024: 5.0 / 5.0 ⭐ (2,227+).

KB app feature.
Key features:
- Automated back-in-stock alerts to automatically send email and SMS notifications to customers on your waitlist when a product is back in stock.
- Price drop alerts encourage extra purchases.
- Out-of-Stock waitlist by collecting customer email addresses to build a valuable email list.
- Product analytics are the most in-demand products to inform your inventory and marketing strategies.
- Customizable notifications to your brand's voice and style.
- Seamlessly integrates with your Shopify store to automatically capture customer information and send notifications.
Pricing: Free to install and start at basic plan $5 / month.

KB app pricing.
#2. Notify! Back in Stock|PreOrder
Notify! app is a versatile app suitable for a wide range of businesses, particularly those that experience frequent stockouts or offer pre-order options.
Rating in 2024: 4.9 / 5.0 ⭐ (1,974+).

Key features:
- Back-in-stock alerts to automatically email and SMS consumers when goods are replenished.
- Pre-order functionality that is not yet available.
- Displays low-stock notifications to create a sense of urgency.
- Customizable notifications with personalized messages and branding.
- Email domain setup for your notifications.
- Send reminder notifications to customers who haven't made a purchase.
Pricing: Free to install and start at essentials plan $19.90 / month.

Notify! app pricing.
#3. Preorder Notify Me Pre‑Order T
Preorder Notify app is a powerful Shopify app designed to help you maximize sales and customer engagement, especially for pre-order and back-in-stock scenarios.
Rating in 2024: 5.0 / 5.0 ⭐ (1,661+).

Key features:
- Automatically send email notifications to customers when products are restocked.
- Product availability tracking and trigger notifications when products become available.
- Customizable Notifications: Tailor your notifications to match your brand's voice and style.
- Product tagging to quickly identify pre-orders, back-in-stock, and coming-soon products.
- Control inventory levels and manage pre-order fulfillment.
Pricing: Free to install and start at $1 / month.

Preorder Notify app pricing.
Best Practices For Managing Your Shopify Waitlist
A good waitlist can help you make more sales, get people excited, and keep them coming back. Using the waiting method can help you turn potential buyers into repeat customers.
Clear Communication And Updates
When working with waitlists, good communication is key to keeping customers happy and loyal. Our image below shows clear contact and new information about the Shopify waiting.

The headline "Be the first" immediately conveys the purpose of the waitlist. The subtitle "Get notified when our product launches at the end of Q4 2023" provides a specific timeframe for the launch, setting clear expectations.
Also, the "JOIN THE WAITLIST" button is prominent and visually appealing, encouraging users to take action. The small arrow icon next to the button further emphasizes the call to action.
Possible buyers can easily sign up and be kept up to date on when the product comes out on this page for the waiting. It does this by giving them clear information and a strong call to action.
Building Anticipation
You can show exciting parts of the process of making your product, from the first ideas to the finished item. This gets people excited and makes them feel like they're a part of the process.
Here's how you can do it:
- Share design sketches to give your customers a glimpse into the creative process.
- Showcase prototypes to show them how your product evolves from concept to reality.
- Share the manufacturing process to give a peek into the production process, highlighting unique techniques or materials.
- Create a short video to showcase the product's features and benefits in a dynamic way.
Check out our guide on adding video banners to your Shopify products.
Key Takeaway
By doing these things, you can make a waitlist for goods that are out of stock and keep your customers interested and up to date. Remember that a well-run waiting can help you make more sales and keep customers coming back.
Want to learn more about Shopify? Visit our blog for expert tips and insights on everything Shopify.


0 comments