


EComposer is #1 Drag & Drop Page Builder that helps you create professional Shopify websites without any coding. Provide 100+ design elements and 300+ templates, there’s no limit to what you can build. Install EComposer for free today and start building the store you’ve always wanted.
How to add Sections to Pages in Shopify store
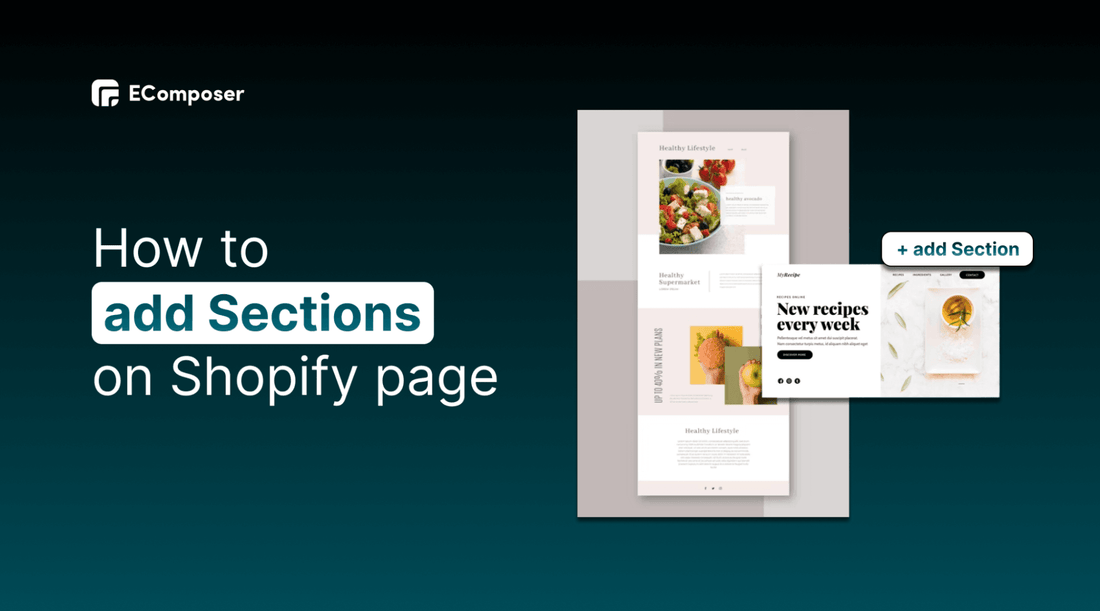
Table Of Contents
Section is a fantastic feature of the EComposer app that will provide users with various engaging experiences while trying to save them as much time as possible. You can use this feature to design a section based on your preferences, which you can then put into the pages and the theme that has been published in your store.
This blog will cover the definition of sections and how to add a section on Shopify page.
What are Shopify sections?

(image source: EComposer’s premade section)
Sections are customization elements that let you create reusable content units. They give you more selections to design your online stores. With just a few clicks, you can now add or move information on your Shopify pages thanks to this function.
Most sections are made up of blocks with clearly defined functions, like links, headings, text, specific photos, galleries, or single photos. You have more flexibility in how you arrange the content of your store when you use sections and blocks in your templates. You may alter how your online store looks and feels without changing any code. Each template can have up to 25 sections.
Besides, you also apply Global Block as a separate section to optimize the adjustment process of the same parts in different pages through your online stores.

How to add a section to pages in Shopify store
Follow these steps to add a section to your Shopify live themes.
Step 1: Open your Shopify store
In your Shopify admin, go to “Online Store”, in the “Themes” section, Click “Customize” next to your live default theme.

Step 2: Add sections to Shopify
In the theme editor, the left sidebar on the left is where you adjust and customize the content and design of each section.
- Scroll to the last part. You can see the “Add section”. Click here and choose the elements you want to add to the page.

- In this example, I choose “Contact form”. Click on the section, and adjust the content and the design to make it appropriate for your Shopify stores.

- Moreover, you can change the section’s positions by hovering over the added section, holding and keeping them while moving them into your desired positions. Remember to press on the symbol beside the “eye”.

Step 3: Save and Publish
- Hit the “Save” button to keep your changes and allow them to be publish to your customer.
How to remove a section from Shopify pages
If you want to remove or delete a section from the Shopify default pages, follow step by step below:
- Access your Shopify “Online Store”
- Choose the “Customize” theme. Move to the section that you want to take it out.
- Select “Remove section” on the bottom left corner before hitting “Save” to protect your changes

How to create a Shopify custom section with EComposer
EComposer is a top landing page builder in Shopify, it provides solutions for web design. Hence, EComposer can help you build a professional Shopify store with 190+ sections and 90+ elements to customize freely in your way. Moreover, you can use them easily with a powerful drag-drop editor.
In this part, we will guide you on how to create a custom section on Shopify.
Step 1: Install EComposer
- In the Shopify app store, look for “EComposer - Landing Page Builder”, and then click “add app”

- To activate the use of the app, click “Install”.
Step 2: Create Shopify custom section in EComposer
- In your Shopify admin, go to “Apps”, and click on EComposer Landing Page Builder

- Choose “section” in the “Actions” dropdown menu.

- Select “Create section” on the right side

- After that, the app will direct you to a new page with many section templates. Choose blank template

- Fill in the blank to name the section, and then click “Start Building”.

There are two ways to create and add custom sections to your pages. If you are a newcomer, you’d better use the first way with EComposer’s premade sections. If you want to build one with your idea, please follow the second method. Now, look through both of them and apply the best fit for your Shopify store.
1st way: Using Premade sections of EComposer
- Hit “Explore Library”

- You have a lot of choices from free to paid templates, and you can sort the results with specific criteria.

- Look through these sections to choose what section you need via the “Preview” function.

- If you find out the suitable one, there are two options for you.

Option 1 - Copy this section:
- This option enables you to store this section in the clipboard of EComposer builder. After that, you can “Paste” it into your page and customize it.
- Go to the page where you want to add this section and click “plus” to add the section

- Choose “Paste from Clipboard”

- You can change and edit the content and design of the chosen section in the left sidebar editor.
- Finally, “Publish” to save the change and show it to your customers.

Option 2 - Insert this section:
This selection allows you to edit and customize freely without affecting other pages' designs.
- First, you can change the image and the text through content and design functions by hovering over the section and then clicking the editor pen. You will carry out all the changes on the left sidebar.

- Additionally, you can use EComposer elements to add to your current section with a powerful drag-drop editor.

- The last step is to choose “Publish” at the top right corner, and then hit “Save and Publish”.

Here is the result.

2nd way: Using EComposer’s elements
After creating a Blank template, you see that EComposer offers many elements.
- Drag-drop elements to build your section based on your creativity

- After finishing customization, Choose “Save to Library” for further use.

- Fill in the section’s name and hit “Save”

- You can see sections which you have just created in the list of “My Templates”

Step 3: Add a section on Shopify page
- Go to the page you want to add a created section on. Click on the “plus” button between existing sections.

- Explore library

- Select “My Template” and “Insert” the section that you choose.

- Now, it’s added to the page, click “Publish” to save the change.

Looking at the details guide via video here: Section Builder

Final words
To sum up, sections are the structural components of Shopify pages, you can add or remove them to redesign your Shopify store and make it more professional. We hope that the guide above can support you to create and add a section to Shopify pages easily with EComposer.
Related posts:


0 comments