How to Add Shopify Rich Text Section
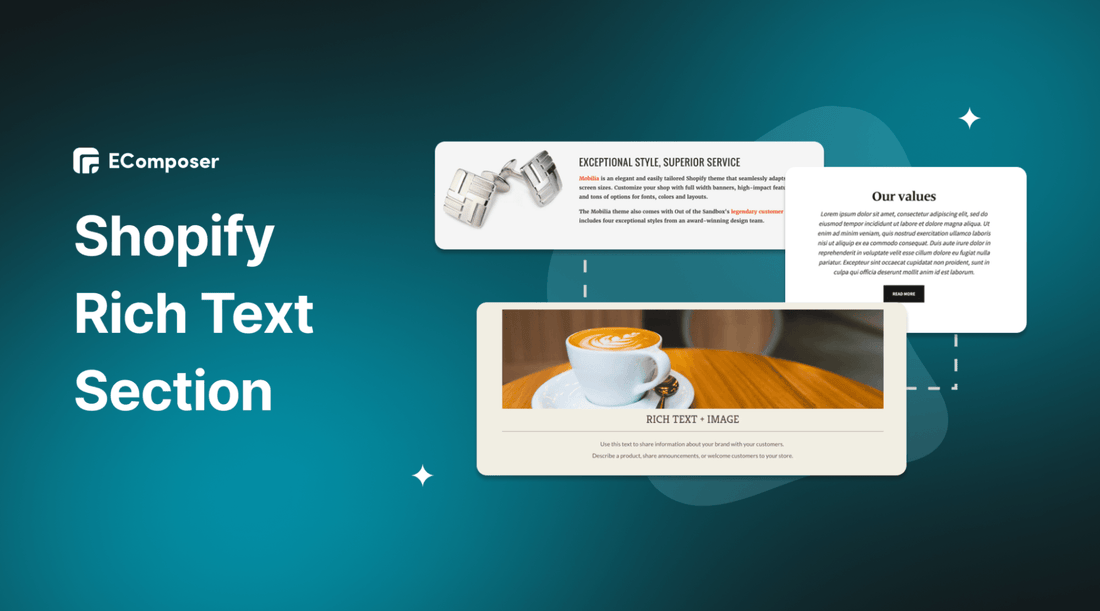
Table Of Contents
In the competitive world of e-commerce, captivating content can set your online store apart from the rest. Shopify's Rich Text Section is a game-changer when creating visually engaging and informative content. Whether you're a seasoned entrepreneur or just starting your online business journey, this powerful tool empowers you to craft compelling narratives, showcase product details, and enhance your brand's story without ever needing to write a single line of code.
In this step-by-step guide, we'll delve into Shopify's Rich Text Section, exploring what it is, why it's a must-have for your store, and, most importantly, how to effortlessly integrate it into your website.
Before going into the details, make sure you have built an eCommerce store on Shopify!
What is Shopify Rich Text Section?

The Rich Text Section is a feature provided by the Shopify theme editor, where users can add text, images, videos, buttons, and other multimedia elements to build engaging and informative content for their online store. It offers a user-friendly interface, similar to a word processor or text editor, where you can format the text, add hyperlinks, insert media, and apply different styles (e.g., bold, italics, headings) to the content.
The purpose of the Rich Text Section is to empower store owners to design and customize their web pages easily, giving them the flexibility to showcase product descriptions, tell stories, share announcements, and create visually appealing layouts to enhance the overall shopping experience for their customers.
Why should you use Shopify Rich Text section?

The Shopify Rich Text Section is a powerful tool that unlocks many benefits, empowering online store owners to take their content creation to new heights. Let's dive deeper into these advantages to understand how this feature can revolutionize your e-commerce journey.
1. User-Friendly Content Creation
With the Shopify Rich Text Section, the process becomes a breeze. Its intuitive interface allows you to effortlessly create, modify, and format content, putting the power of customization at your fingertips. No more relying on developers or designers; now, you can craft captivating descriptions, engaging blog posts, and enticing landing pages, all without breaking a sweat.
2. Customizable and Engaging
In the ever-evolving digital landscape, captivating your audience is paramount to success. The Rich Text Section empowers you to go beyond simple text and immerse your customers in an interactive shopping experience.
By seamlessly integrating multimedia elements like high-quality images, compelling videos, and attention-grabbing buttons, you can create content that resonates with your brand's identity and captures the imagination of your visitors. Engaging content enhances the overall user experience, increasing the likelihood of conversion and fostering brand loyalty.
3. SEO Optimization
In the vast sea of online stores, visibility is key to attracting organic traffic. The Shopify Rich Text Section helps you optimize your content for search engines, enhancing your store's online discoverability.
You can easily incorporate relevant keywords, meta descriptions, and properly structured headings to improve your search engine rankings. As a result, potential customers can find your store more easily, driving higher volumes of qualified traffic and boosting your chances of turning visitors into loyal buyers.
4. Compelling Storytelling
Beyond mere product descriptions, the Shopify Rich Text Section gives you the canvas to weave compelling narratives around your brand and products. Storytelling is a powerful tool that humanizes your business, connecting emotionally with your audience.
Share the journey of how your products are made, showcase customer success stories, or delve into the values that drive your brand. Creating a personal connection with your customers builds trust and authenticity, encouraging them to return to your store repeatedly.
5. Responsive and Versatile
With an increasing number of customers shopping on mobile devices, delivering a seamless experience across all screen sizes is crucial. The Rich Text Section ensures your content automatically adapts to various devices, including smartphones, tablets, and desktops.
This responsiveness guarantees that your content looks stunning and functions flawlessly, irrespective of how customers access your store. A consistent and visually appealing experience fosters positive user impressions and encourages longer browsing, leading to more conversions.
How to add Shopify Rich Text Section?
Step 1: Sign up for your Shopify account
- If you don't already own a Shopify store, you need to sign up for Shopify (free)
- Log in to your online store using your registered email and password.

Step 2: Choose a theme
In Shopify edit page, go to Online store, select Theme.

Select a theme to which you want to add Shopify Rich Text and select Customize

Step 3: Add Rich Text Section
- Click on add section which can be found in your left sidebar
- Scroll down, or search for Rich text, then click on Rich text

Step 4: Save
Your Rich Text has been added. Now you need to click on Save to save your edits.

Configure the Rich Text content
Edit Title/Heading block
In the left sidebar of the screen, go to the Rich Text you just created, and select Title.
You will be taken to the Heading editor window.

- Heading: This will be the title of the Rich Text section.
- Header Size:
When you select Extra Large, the size of the description will also be slightly larger than normal.
Note that the header size you choose here only applies to desktop views. You can customize the mobile header size globally in the general theme settings under Font.

After editing, you need to click on Save to finish.

Edit Text block
Click on Text, and you will be taken to the editing window.

Here you can change the entire content to your liking.
To finish editing Text, click Save in the right corner of the editing screen.
Edit Button block
After you click the button block on the right of your screen the following sidebar will open.
Tip: When you add multiple button blocks below each other, they will show in a row in the section.

- Button label: Fill in the name for the button, for example: Read more
- Link: Here you can fill in the link to a page where the button will redirect when clicked.
Finally, click Save to finish editing.
Add and Configure Shopify Rich Text in 4 Easy Steps with EComposer
While the default Shopify Rich Text Section is undoubtedly user-friendly, it may fall short for those seeking a more dynamic and visually engaging content creation experience. Adding multimedia elements like images, videos, and gifs can be time-consuming and limited within the default options.
However, fear not, for an exceptional solution takes your content creation to the next level – the EComposer Shopify Page Builder. This remarkable third-party app introduces many rich options, empowering you to craft captivating and immersive Rich Text content like never before.
EComposer, the next-generation Shopify page builder app, is an invaluable business asset. With a user-friendly interface and intuitive drag-and-drop editor, website design becomes a joyful and stress-free endeavor, even for those without coding knowledge.
In this comprehensive guide, we'll walk you through the seamless process of adding and customizing Shopify Rich Text Sections, utilizing the powerful capabilities of EComposer.
Step 1: Install and Open EComposer
- In the Shopify App Store, search EComposer Landing Page Builder then click Add App
- To activate the use of the app, Install the app to your Shopify store.

- In the Dashboard menu, go to Apps, and click EComposer Landing Page Builder.

Step 2: Start adding Shopify Rich Text Section
- Click Action in the right corner of the dashboard and select Section.

- Click Create Section and you are redirected to EComposer's editing page.

- Here, you choose Blank template.

- Then, go to Setup page info and select Start Building.

Step 3: Customize your Image with Text Section
- First, you need to choose a suitable layout for your purpose

- Next, go to Element and search for Text
with direct drag and drop, you can place the Text anywhere you want in the section.

- You can then customize your content to your liking.
For example, you can add a Heading element to this section.

- Next, to call customers to action, you can add a Button element and change its color to make it look attractive.

- Now for the special section, click on the section to edit the background.

- EComposer gives you many options to change the background of the Rich Text Section
Video background:
Go to the Layout tab and select Video Background. There are a lot of video source options for you to choose from.

Image background:
Go to the Design tab, select Background. Here you can change the background color or add a photo of your choice.

Step 4: Save and publish
Once you are satisfied with your customization, in the right corner of the edit page you have options to save and publish.

In a nutshell
In conclusion, adding a Shopify Rich Text Section to your online store is a game-changing endeavor that can significantly enhance your content presentation and customer engagement. With its user-friendly features, customizable options, and SEO optimization capabilities, this powerful tool empowers you to create captivating content that tells your brand's story and resonates with your audience.
If you want more information or to learn more about EComposer, follow us at ecomposer.io.
=================
Add EComposer Next generation page builder Here
Follow Us on Facebook
Join Official Community
Open a New Shopify store with Newest Exclusive discounts.





0 comments