How to Add & Customize Shopify Image with Text Section
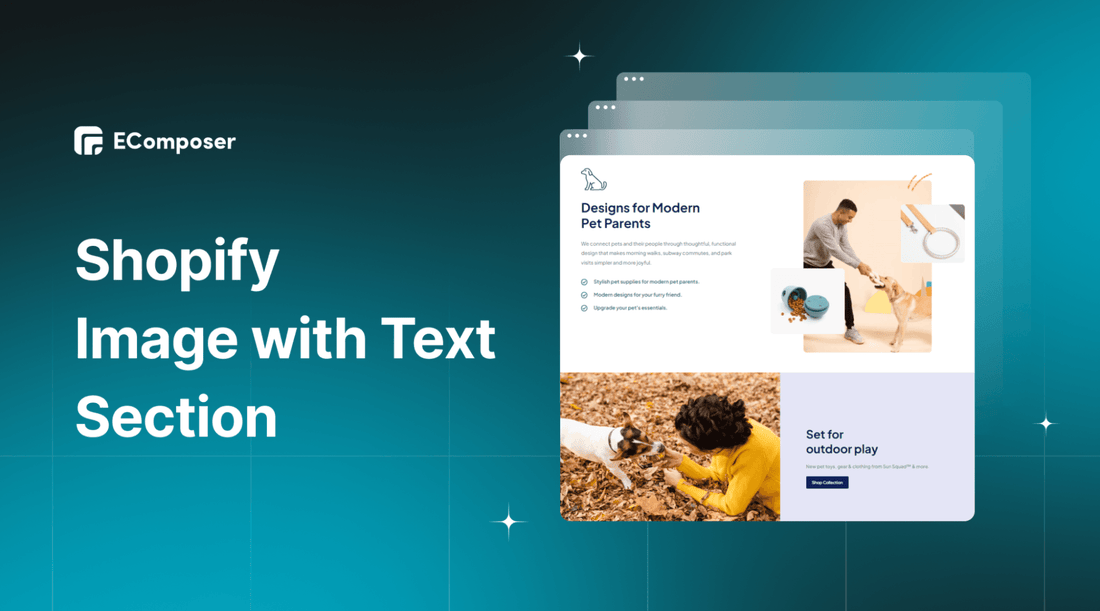
Table Of Contents
In the dynamic world of e-commerce, captivating visuals, and compelling content play a pivotal role in capturing the attention of potential customers. As an online store owner using Shopify, you have access to an array of powerful tools to showcase your products and brand in the best light possible. One such tool is the Shopify Image with Text Section, a versatile feature that effortlessly blends eye-catching images with persuasive text.
In this comprehensive guide, we will walk you through adding and customizing the Shopify Image with Text Section, empowering you to create visually engaging content that leaves a lasting impression on your website visitors.
Before going into the details, make sure you have built an eCommerce store on Shopify!
What is Shopify Image with Text Section?
A Shopify Image with Text Section typically refers to a visual element commonly used in Shopify online stores. It's a layout design where an image is paired with accompanying text to provide a more engaging and informative presentation of a product, service, or promotional message.
In this context, the image serves as the visual representation of the content, while the text complements the image by providing additional context, details, or a call to action. This combination of image and text is often used to showcase products, highlight key features, or convey a brand's message in a visually appealing and effective manner.
By using this section strategically, merchants can effectively communicate with their customers, increase product visibility, and ultimately drive sales on their Shopify store.
Why should you use Shopify Image with Text section?

1. Attention-Grabbing Content
In today's fast-paced digital world, capturing users' attention quickly is essential. The "Shopify Image with Text" section allows you to create visually appealing content that stands out. As users scroll through your website, an eye-catching combination of images and text draws their focus, increasing their chances of engaging with the content. By hooking their attention early, you create a positive user experience and increase the likelihood of them exploring more of your products or offers.
2. Effective Product Showcase
For e-commerce businesses, showcasing products effectively is crucial for driving sales. The "Image with Text" section enables you to present high-quality product images alongside descriptive and persuasive text. This combination helps customers understand the product's benefits, features, and use cases, making an informed purchase decision easier. A well-crafted product presentation can boost customer confidence, increasing conversion rates.
3. Brand Storytelling
Consumers today seek more than just products; they want to connect with brands on a personal and emotional level. The "Shopify Image with Text" section lets you tell your brand's story visually and through compelling text. You can establish a deeper connection with your audience by sharing your brand's values, mission, and unique selling proposition. This emotional connection can foster brand loyalty and turn customers into brand advocates.
4. Higher Engagement
Engagement is a critical metric for online businesses, indicating how much visitors interact with your content. This section's combination of images and text creates a dynamic and interactive user experience. Engaging content keeps visitors on your website for longer periods, reducing bounce rates and increasing their chances of exploring other pages. The more time users spend engaged with your content, the better the chances of converting them into paying customers.
5. Improved Conversion
The ultimate goal of any online store is to convert visitors into customers. The "Image with Text" section plays a significant role in achieving this goal. By using persuasive language, compelling CTAs, and visually appealing images, you create a sense of urgency and encourage visitors to take action. Whether it's making a purchase, signing up for a newsletter, or exploring more products, the well-crafted content in this section nudges visitors toward the desired conversion actions.
How to add and customize Shopify Image with Text Section?
Currently, many applications support you to create Shopify Image with Text section on Shopify, but not all applications are effective. This section introduces you to the amazing section creation feature from EComposer - Shopify Page Builder.
EComposer stands out as a top-rated Shopify page builder app, offering unparalleled features for businesses seeking to create captivating web pages that effortlessly attract customers.
The app's user-friendly interface and intuitive drag-and-drop editor make website design a breeze, eliminating the need for coding knowledge. With EComposer's extensive library of pre-designed templates and elements, you can easily customize your pages without starting from scratch, saving time and effort.
Creating an informative and visually appealing "Image with Text" section for your Shopify store becomes a seamless task with EComposer. In this guide, we'll walk you through the simple steps of adding and customizing Shopify Image with Text Sections using the powerful capabilities of EComposer.
Step 1: Sign up for your Shopify account
- If you don't already own a Shopify store, you need to sign up for Shopify (free)
- Log in to your online store using your registered email and password.

Step 2: Install and Open EComposer - Shopify Page Builder
- In the Shopify App Store, search EComposer Landing Page Builder then click Add App
- To activate the use of the app, Install the app to your Shopify store.

- In the Dashboard menu, go to Apps, and click EComposer Landing Page Builder.

Step 3: Start adding Shopify Image with Text section
- Click Extra Builder in the right corner of the dashboard and select Section.

- Click Create Section and you are redirected to EComposer's editing page.

- Here, you choose Blank template

- Then, go to Setup page info and select Start Building.

Step 4: Customize your Image with Text Section
- First, you need to choose a suitable layout for your purpose

- Next, go to Element and search for Image.
With direct drag and drop, you can place the image anywhere you want in the section

Once you have successfully added the image to the section, you can edit it as you like. See more ways to customize images here.

- Then go to Element and search for Text
You can drag and drop Text to any position you want in the section.

Similar to Image, you can also customize the content and display the Text as you like. See details here.

You now have a basic Image with Text. You can add many other elements to make your Image with Text richer and more attractive.
For example, here we add a button that invites customers to read more about our product.

Step 5: Save and publish
Once you are satisfied with your customization, in the right corner of the edit page you have options to save and publish.

To take user experience a step further with images, we recommend using Nitro Lookbook app. This app allows you to display optimized images in engaging, shoppable galleries, including text on image or lookbook.
With interactive image showcasing, Nitro Lookbook encourages customers to spend more time browsing, making exploration intuitive and enjoyable. Fully customizable and easy to navigate, it helps create a seamless browsing experience that invites customers to explore your products, boosting both satisfaction and conversions.
+15 Creative Ways to Utilize Shopify Image with Text Section
1. About Us Showcase
The About Us section is a critical aspect of any website, allowing businesses to establish a connection with their audience. You create a compelling visual narrative of your brand's story, values, and mission by incorporating images alongside concise paragraphs. This personal touch fosters a sense of trust and authenticity, making it easier for customers to relate to your business.
2. Lifestyle Image Gallery
Showcasing lifestyle images featuring your products allows customers to visualize how your offerings fit into their lives. Linking each image to specific site sections creates a seamless user experience, facilitating easy navigation to relevant products or collections. This approach appeals to customers on an emotional level, helping them envision the benefits of owning your products.
3. Blog Post Highlights
Promoting top blog posts through captivating images, catchy headlines, and concise summaries encourages increased engagement with your valuable content. By directly linking each blog post from the Image with Text section, you guide visitors to explore informative and relevant articles, increasing website dwell time and building authority in your niche.
4. Product Explainers
For complex or customizable products, using close-up images and detailed descriptions offers customers a deeper understanding of the craftsmanship and uniqueness of your offerings. This level of detail enhances customer confidence, reducing potential doubts and leading to more informed purchase decisions.
5. How It Works
Businesses with distinctive service models or subscription offerings benefit from the "How It Works" section. You simplify the understanding of your business process by breaking down each step with visuals and clear text. This transparency builds trust and reassures potential customers about what to expect when engaging with your brand.
6. Featured Collections
Highlighting specific collections draws attention to your best-selling or seasonal products. The visually appealing sections entice customers to explore further, increasing the chances of finding products that align with their interests. This approach supports cross-selling and upselling opportunities.
7. Call to Action
Utilizing a single row for a clear and prominent call-to-action creates a focal point for visitors. By driving specific actions, such as subscribing to a newsletter or starting a free trial, you encourage users to take the desired steps, contributing to lead generation and customer retention.
8. Contact Information
Enhance customer service accessibility by featuring images related to various contact methods like phone, email, or live chat. Providing straightforward contact options makes it easier for customers to reach out and seek assistance, fostering positive customer experiences.
9. Sale Promotions
Creating dedicated sections for holiday events or sales draws attention to limited-time offers. By linking to unique collections with discounted products, you create a sense of urgency, motivating customers to make purchases before the sale ends.
10. Product Spotlights
Showcasing top-selling products with engaging visuals and direct links to their product pages streamlines the shopping experience. Presenting popular items prominently encourages swift and informed decision-making, ultimately boosting sales.
11. Announcements
Keeping your audience informed about the latest news, product launches, or events strengthens your brand communication. Optionally linking to related blog posts provides additional context and keeps visitors engaged, fostering a cohesive experience on your website.
12. Targeted Suggestions
Tailoring product recommendations based on customer preferences and demographics enhances personalization. By suggesting relevant products, you increase the likelihood of conversions and customer satisfaction, driving customer loyalty.
13. Teasers
Engaging users with intriguing headlines and images piques their curiosity, motivating them to explore further content. Creating a sense of anticipation generates interest and encourages visitors to discover more about your brand and offerings.
14. Location Details
For businesses with physical stores, showcasing images of the location, contact information, and directions helps customers find you easily. This localization strategy caters to local customers and supports in-person visits.
15. Animated Highlights
Utilizing animated GIFs adds a dynamic element to your content, drawing attention to specific promotions or interactive features. The visually engaging nature of animations can effectively capture visitor interest and increase clicks and conversions.
Bonus: How to add text to a Shopify Image using EComposer
Step 1: Open and Install EComposer
In this step, you do the same as step 2 of How to Add and Customize Shopify Image with Text Section?
Step 2: Add Text to Shopify Image
- Click Extra Builder in the right corner of the dashboard and select Section.

- Click Create Section and you are redirected to EComposer's editing page.

- Here, you choose Blank template.

- Then, go to Setup page info and select Start Building.

- Go to Elements and look for Banner

- Drag and drop the Banner element to your desired position in the EComposer editor.
Step 3: Customize your Image
Now you can start customizing text to the image
* Content:
- Image source: You may choose the source to get the image banner from your Collection or File upload
- Content: This function may help your description and the title will be shown whenever you click to turn it on.
- Button: You can edit the content that you want to display in the button
- Settings: If you have any requests for changing the position of the banner content so just come to this function to do that; and lots of options for you to consider like Center center, Center right, Center left, Top left, Top center, and Top right.

* Design:
You can edit the display of Image; Content Wrapper; Heading; Sub Heading; Content; Button; Icon and Overlay.

* Advanced:
You can customize everything related to visible settings like code, background, animation, and so on.

Step 4: Save and publish
Once you are satisfied with your customization, you have options to save and publish in the right corner of the edit page.

Wrap up
Through this comprehensive guide, you've learned about the numerous creative ways to utilize the Image with Text section, from introducing your brand's story to showcasing top products and highlighting promotions. Your online store is now equipped to create immersive shopping experiences that leave a lasting impact on your visitors.
Remember, a visually appealing and informative "Image with Text" section can be a game-changer for your e-commerce business. It captures attention, enhances engagement, and ultimately drives conversions.
If you want more information or to learn more about EComposer, follow us at ecomposer.io or click on the message icon in the screen's right corner.
=================
Add EComposer Next generation page builder Here
Follow Us on Facebook
Join Official Community
Open a New Shopify store with Newest Exclusive discounts.




0 comments