How to Add an Order Notes Section in Shopify

Table Of Contents
In the fast-paced world of e-commerce, providing exceptional customer experiences is crucial for building lasting relationships and fostering brand loyalty. One often overlooked yet powerful tool for enhancing customer satisfaction is the Order Notes section in Shopify. This simple yet effective feature allows customers to leave specific instructions or personalization requests related to their orders while also providing merchants valuable insights into customer preferences.
In this comprehensive guide, we'll explore how to add an Order Notes section in Shopify that benefits both merchants and customers. Before going into the details, make sure you have built an eCommerce store on Shopify!
What is Order Notes Section in Shopify?
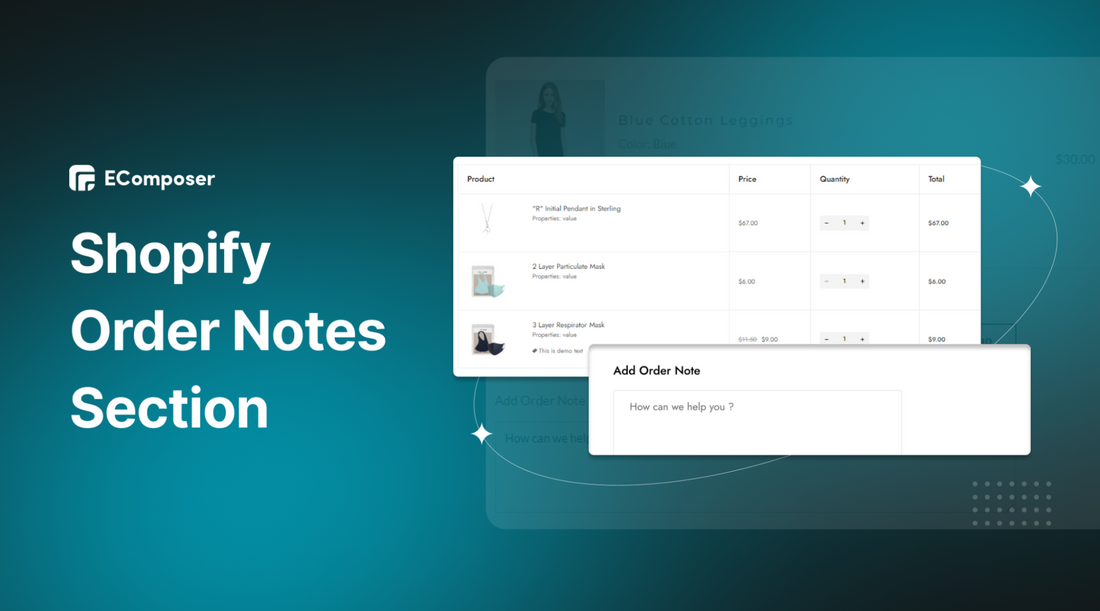
The Shopify order notes section, found on the cart page during the checkout process, is a text field that allows customers to provide additional information related to their orders. It serves as a method for customers to communicate special requirements, delivery directions, and specific concerns or even include a personalized gift message.
This feature provides a direct line of communication between customers and merchants, enabling a more personalized and seamless shopping experience.
Benefits of Shopify Order Notes section

The Shopify order notes section is a valuable tool that empowers merchants and shoppers to personalize and streamline their transactions. In this section, we'll explore the benefits of this feature and how it enhances the shopping journey for all parties involved.
1. Better Customization and Personalization
The order notes section is a treasure trove for customization. For customers, it allows them to provide specific instructions or preferences related to their orders. Whether it's a unique gift message, a special delivery request, or product personalization, the order notes section enables shoppers to make their purchases genuinely one-of-a-kind. Such personalization fosters a sense of connection and satisfaction, which can lead to increased customer loyalty and repeat business.
2. Improve Communication
Merchants can also use the order notes section to communicate effectively with their customers. It serves as a platform to seek clarifications, address concerns, or confirm order details. The ability to engage in direct, two-way communication at the point of purchase streamlines the entire process, reducing the likelihood of misunderstandings and potential issues.
3. Manage Order Expectations
The order notes section allows merchants to manage customer expectations effectively. When customers have specific requests, such as rush deliveries or custom specifications, merchants can use this section to confirm the feasibility and set realistic delivery timelines. By being transparent and proactive, merchants can prevent disappointment and build trust with their clientele.
4. Reduce Post-Purchase Inquiries
One of the significant benefits of the order notes section is its capacity to minimize post-purchase inquiries. Customers who include all relevant information and queries at checkout are less likely to contact customer support later. This helps free up resources for merchants, allowing them to focus on more critical tasks and deliver even better customer service.
5. Enhance Order Processing
The order notes section significantly enhances the order processing efficiency. With all relevant information in one place, merchants can swiftly fulfill orders without needing back-and-forth communications. This speeds up the fulfillment process and reduces the chances of errors, ultimately leading to higher customer satisfaction rates.
6. Collect Customer Insights
Merchants can gain valuable insights into customer preferences, pain points, and shopping habits through the order notes section. By analyzing the patterns in order notes, businesses can identify trends, adapt their offerings, and make data-driven decisions to enhance the shopping experience.
How to add Shopify Order Notes to your store?
Step 1: Sign up to your Shopify account
- If you don't already own a Shopify store, you need to sign up for Shopify (free)
- Log in to your online store using your registered email and password.

Step 2: Open Themes
- Go to Online Store, then click Themes.

- Specify the location where you want to place the order notes and click Customize

- In the theme editor, choose Cart.

Step 3: Enable Order Notes
You must enable order notes in the shopping cart settings by tapping Enable order notes.

Step 4: Save

Customizing Order Notes Section using EComposer - Shopify Page Builder
Although creating order notes with Shopify defaults is straightforward, it has a limitation – the inability to customize the appearance to your liking. But fear not! This section will show you how to use EComposer - Shopify Page Builder app to create and fully customize visually appealing Shopify Order Notes.
With EComposer, you can build a professional store with all types of page such as a homepage, collection page, product page, about us page, blog page, policy page, landing page, etc. EComposer brings the best solutions for your Shopify stores from page building to optimize conversion rates.
Specifically, EComposer provides many sections, page templates, elements, extensions, and a lot of other advanced features. Moreover, you also can utilize AI Content Generator in EComposer to write content for your page smartly.
With EComposer's intuitive drag-and-drop interface, you can easily customize the layout and design of your Shopify Order Notes Section. Position it strategically on your website to deliver a great customer experience.
Step 1: Install and open EComposer
- In the Shopify App Store, search EComposer Landing Page Builder then click Add App
- To activate the use of the app, Install the app to your Shopify store.

- In the Dashboard menu, go to Apps, and click EComposer Landing Page Builder.

Step 2: Start adding Shopify Order Notes section
- Click Start Building in the right corner of the dashboard and select Cart pages.

- Choose any EComposer template you want or click Blank Template. Then, go to Set up page info and select Start Building.

- In EComposer's editor, go to Elements, and look for Order Note.

Step 3: Customize your Order Notes Section
Now, use EComposer's live drag and drop to drag the Order Note anywhere. Then start customizing Shopify Text Marquee to your liking.
* Content:
- Order note label: The Order note title can be changed to fit your preferences.
- Order note placeholder: You can change the order note field to help the consumer realize wherever to add the note.

* Design:
- General: Some fundamental design elements, such as the Background, Box shadow, Border, and Border radius, are modifiable.
- Label: Basic design elements like text Alignment, Typography (font style), and so on are some that can be changed.
- Input: For the Input design, several primary settings, such as Text alignment, Alignment, Typography, Color, Color placeholder, Width, and so on, can be adjusted. Also, you could modify some of the effects for the Focus settings.

* Advanced
You can customize everything related to visible settings like code, background, visibility, animation, and so on.

Step 4: Save and publish
Once you are satisfied with your customization, you have options to save and publish in the right corner of the edit page.

Here is the result:

In a nutshell
The Order Notes section is a direct line of communication between you and your customers, fostering trust and building long-lasting relationships. With our step-by-step guide, you have learned how to effortlessly integrate the Order Notes section into your Shopify store, ensuring your customers can provide specific requests and preferences at the time of purchase.
Now it's time to put this knowledge into practice and delight your customers with a more personalized and streamlined shopping experience. If you want more information or want to learn more about EComposer, follow us at ecomposer.io or click on the message icon located in the right corner of the screen.
=================
Add EComposer Next generation page builder Here
Follow Us on Facebook
Join Official Community


0 comments