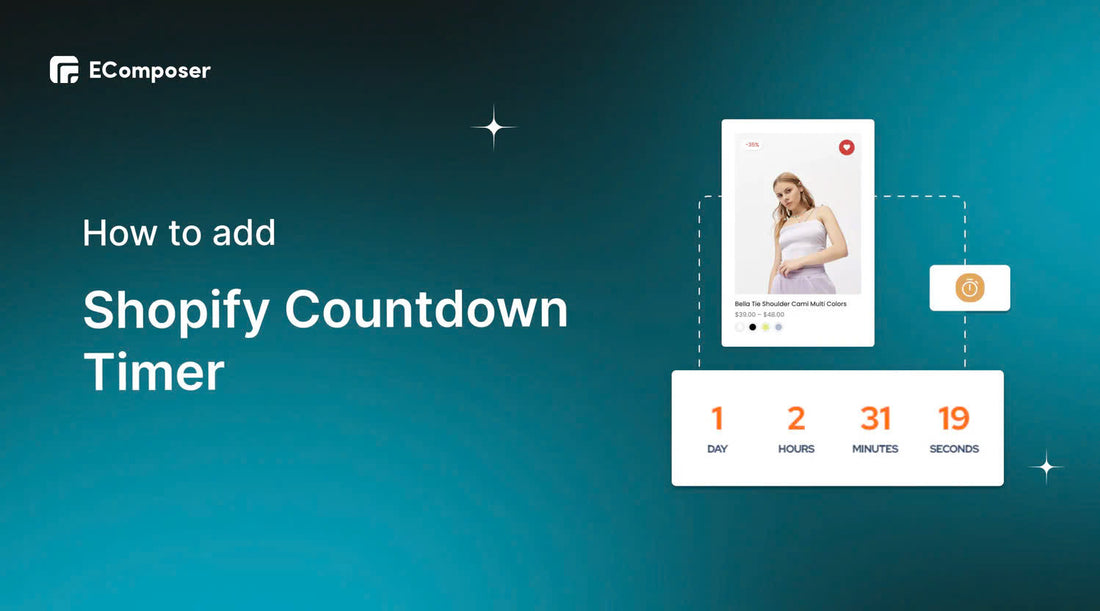
How to add Shopify Countdown Timer FREE & without Coding

Table Of Contents
Using FOMO to create a sense of urgency can help you eliminate any hesitations your customers have about a purchase. In fact, entrepreneur Marcus Taylor has increased his sales by 332% by evoking the feeling that he might be missing out on something of great value.
Currently, businesses have come up with many strategies to enable this effect, one of which is using Countdown Timers.
In this blog, we will show you how to create and customize Shopify Countdown Timer for your online store. Before going into the details, make sure you have built an eCommerce store on Shopify!
What is Shopify Countdown Timer?

Shopify Countdown Timers are virtual clocks that display the number of days, hours, or minutes till a deal starts or finishes.
A countdown timer can be compared to an online clock that starts counting down from a certain date or number to emphasize the end of a promotion or the start of an event. It is used by businesses to let customers know how much time is left before a sale or other limited-time transaction begins. This can stimulate people's innate curiosity and interest them.
Why you should use a Shopify Countdown Timer?

1. Stimulating customers' FOMO
The fear of missing out (FOMO) is an effective feeling to play on. This impression may be readily produced by countdown timers that make it appear as though customers only have a short window of opportunity to score an unbeatable offer.
2. Impress customers about the upcoming product launch
Set a timer if you want to attract attention to a limited-time offer. This may be quite helpful when launching new products.
To let people know about an upcoming event, simply create a countdown timer for that event. You can easily find free countdown timer apps on Shopify, but you should keep in mind that free apps are not always reliable.
3. Motivate customers to buy products
A countdown timer helps customers know the end time of your store's events. As a result, they will spend time researching and buying products faster.
Where should Shopify Countdown Timer be used?

1. Landing Page
One of the best places to include a countdown timer is on landing pages because they are intended to advertise special offers or gather visitor emails. Including one strengthens the impact of your marketing and motivates potential consumers to take the required action.
2. Product Page
Customers that visit your product page could take their time making up their minds before leaving or becoming sidetracked. You may persuade them to complete their purchase by highlighting a limited-time offer for free delivery or a minor discount using a countdown timer.
Many believe that this is the final opportunity to win the consumer over. Because of this, demand for countdown timers has increased substantially over the past few years. Using this strategy, abandoned cart rates can be reduced.
4. Email newsletter
You may incorporate a countdown timer in the newsletters or promotions you send to users on your email list. One that displays the remaining time for the ongoing seasonal sale for your company might be incorporated.
Using a countdown timer in emails can yield outstanding results. For example, a campaign by The Diamond Store - a jewelry brand in London, thanks to placing a timer in their Black Friday email campaign, they increased conversions by 400%.
[ecom-global-block]ecom-shopify-trial-block[/ecom-global-block]
How to create Countdown Timer using Shopify defaults
Step 1: Sign up your Shopify account
In this step, you need to sign up for Shopify and build a basic Shopify store. This means you can simply view Shopify setup, choose a theme, change colors, add a logo, set up a page (About Us, Contact Us, etc.), create a Policy & Terms (In settings), and activate Shopify Payments.
Shopify lets you try it out for 14 days without a credit card.
Step 2: Add Countdown timer theme snippet
You need to add a new piece of code to your theme.
In the Shopify dashboard, go to the Online store and click Theme. At the drop-down menu, select edit code.

Add new snippet and name it shopify-countdown-timer

Then paste the following code into it and click Save.
{% if end_date != blank %}

<div class="timer">

  {% if title != blank %}

    <h4 class="timer__title">{{ title }}</h4>

  {% endif %}

  <div class="timer-display">

    <div class="timer-block">

      <span class="timer-block__num js-timer-days">00</span>

      <span class="timer-block__unit">Days</span>

    </div>

    <div class="timer-block">

      <span class="timer-block__num js-timer-hours">00</span>

      <span class="timer-block__unit">Hours</span>

    </div>

    <div class="timer-block">

      <span class="timer-block__num js-timer-minutes">00</span>

      <span class="timer-block__unit">Minutes</span>

    </div>

    <div class="timer-block">

      <span class="timer-block__num js-timer-seconds">00</span>

      <span class="timer-block__unit">Seconds</span>

    </div>

  </div>

</div>

<style>

/* styles for timer */

  .timer {

    background: #f6fafd;

    padding: 10px;

    margin: 10px 0;

  }

  .timer--expired {

    display: none;

  }

  .timer__title {

    @extend .paragraph;

    text-align: center;

  }

  .timer-display {

    display: -webkit-box;

    display: -ms-flexbox;

    display: flex;

    -ms-flex-wrap: wrap;

        flex-wrap: wrap;

    -webkit-box-pack: justify;

        -ms-flex-pack: justify;

            justify-content: space-between;

    margin-top: 5px;

  }

  .timer-block {

    position: relative;

    width: 25%;

    padding: 0 10px;

    &:not(:last-child):after {

      content: ':';

      position: absolute;

      right: 0;

      top: 3px;

    }

  }

  .timer-block__num,

  .timer-block__unit {

    display: block;

    text-align: center;

  }

</style>

<script type="text/javascript">

  var second = 1000,

      minute = second * 60,

      hour = minute * 60,

      day = hour * 24;

  var countDown = new Date('{{- end_date -}}').getTime(),

      x = setInterval(function() {

      var now = new Date().getTime(),

          distance = countDown - now;

      document.querySelector('.js-timer-days').innerText = Math.floor(distance / (day)),

        document.querySelector('.js-timer-hours').innerText = Math.floor((distance % (day)) / (hour)),

      document.querySelector('.js-timer-minutes').innerText = Math.floor((distance % (hour)) / (minute)),

      document.querySelector('.js-timer-seconds').innerText = Math.floor((distance % (minute)) / second);

    }, second)

</script>

{% endif %}
Step 3: Put recently added snippet to product page
Use the line below to put the added snippet
{% include 'shopify-countdown-timer',

  title: "Special Deal",

  end_date: "May 30, 2023"

%}
Note that you can completely change the title and time of the event.
Create Shopify Countdown Timer for FREE and without coding

EComposer Landing Page Builder is a next-generation Shopify app that allows you to create all types of pages like Home Page, Landing Page, Product Page, Coming Soon Page and includes pages not available in Shopify. When using EComposer, you may be overwhelmed by its outstanding features and a treasure trove of constantly updated templates.
Countdown Timer is one of the prominent elements that EComposer supports. Follow the steps below to create Shopify Countdown Timer for your store now!
Step 1: Install EComposer
- In the Shopify App store, search EComposer Landing Page Builder then click Add App.
- To activate the use of the app, Install the app to your Shopify store.

Step 2: Open EComposer
In the Dashboard menu, go to Apps, click EComposer Landing Page Builder.

Step 3: Start building Shopify Countdown Timer
Click Start Building on the right corner of the dashboard and choose any page you want.

Choose any EComposer template you want by clicking Select a template or create your own by clicking Setup page info. Then, select Start Building.

At the main editing page of EComposer, go to Element and find Countdown.

With the live drag and drop, you can drag the Countdown Timer anywhere you want on the edit page.
Step 4: Customize Shopify Countdown Timer
Click on the pen icon to start customizing your Shopify Countdown Timer.

In the content section, you can edit the entire content, font, font size and color of the text

Design section helps you to change the title, items, number and label of the Countdown timer.

Finally, in the Advanced section, you can customize everything related to the code.

Step 5: Save and publish
After completing the customization, you have several options for saving and publishing the page you just edited.

Wrap up
Shopify Countdown Timer is an effective tool to help you solve your conversion problems. Currently, on Shopify, there are many applications that help you create Countdown Timer for free, but not all of them are really useful.
We hope this blog will help you create the right Shopify Countdown Timer for your online store. If you want more information or want to learn more about EComposer, follow us at ecomposer.io or click on the message icon located in the right corner of the screen.
=================
Add EComposer Next generation page builder Here
Follow Us on Facebook
Join Official Community


0 comments