


How to Customize Shopify Product Displays with Product Box
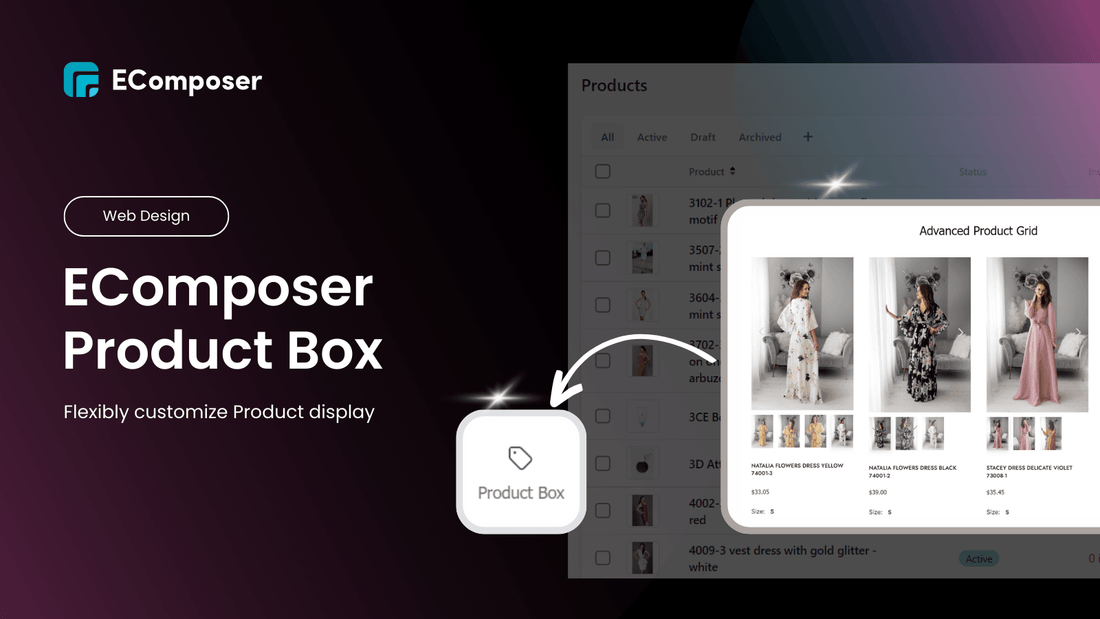
Table Of Contents
As a popular figure of Catalpha Marketing Insights, customers will consider tons of characteristics before purchasing any items. Those might be: Pricing and discounts, social proof, retailer trustworthiness, delivery speed, etc.
So it can be said that transmitting product data displaying on your pages compellingly is so important, when it can make shoppers scan your product information and make purchases faster.
That’s why in this blog, we would love to share with you How you can customize Product display Free on Shopify pages more attractively by Product Box - the trending and powerful tool for trustful products display.
Interesting? Scroll and dig down now!
[ecom-global-block]ecom-shopify-trial-block[/ecom-global-block]
What is Product Box?
Product box is a powerful element of EComposer that is connected with the product data you import on Shopify admin.
In detail, when you add a product box to your page, the data (e.g., product price, title, images) are all pulled from your Shopify store's products. This means that any changes to your products' attributes or inventory in Shopify will be automatically reflected on your pages.
EComposer Product Box is an effective way to highlight the single products in your Shopify store. It allows you to add any Basic and product elements freely, then create the smooth Product showcase building experiences without coding. Your customers can browse products and add them to their shopping carts from custom landing pages, sections, or theme pages.
This element is super suitable on Homepage and Landing Page building.
Here are several advantages of EComposer Product Box compared with various counterparts on Shopify Apps.
✔️ Available in EComposer Free plan
✔️ Ease to use just by dragging and dropping
✔️ No need changing codebase manually
✔️ Easy and flexible customization

A notable advantage of EComposer Product Box is covering various basic blocks supporting you in visualizing your product data appealingly, which are:
- Text
You also can add any other elements and extensions such as: rating & reviews widgets, quantity, price, countdown, etc. to this Product box flexibly, then build your Product showcase as you want.
And here is a comprehensive Product box example:

So have you wondered the differences of displaying Product data manually and using the EComposer Product Box element.
Top benefits of EComposer Product box
Auto sync with Product data on Shopify admin
The biggest advantage of Product box is syncing with data you imported on Shopify product tabs in your store’s dashboard.
When using the product box feature, the data (e.g., product price, title, images) are all pulled from the products in your Shopify store automatically. Hence, If there are some changes of attributes or inventory of your products, Product Box will sync and help you update those information on your pages authentically.
Meanwhile, with the manual method, you need to update all changes matching with each attribute of your product display by yourself when having your product have any updates.
Given default layout
You can see that after placing this element on the editor, it will show you the basic Product box outfit of your default product.

This is beneficial for Shopify users’ store editing process when they can figure out how their Product data will be shown immediately.
Highly flexible customization
Like mentioned above, once applying the Product box, you can see that EComposer gives you a full set of basic tools for showing your Product data.
Also, with the Product box, you can add additional elements and extensions to customize your ideal product box layout, which is more optimal with static Product grid layout.
Explore more a full comparison of Product Box with other store-layout-building features.
Best practices of EComposer Product Box
A popular layout that EComposer Product Box supports building is Featured Products list.
When creating an online store, you want the homepage to be the first thing visitors see after clicking on the store link. That’s when displaying your key product list can be one of the quickest ways to capture their attention and introduce them to your brand, followed by the creation of a high converting homepage or landing page.
In other words, Featured Products list is a really essential list for any Shopify store owners to showcase your main products and attract their online shoppers at first sense.
To help you figure out how functional EComposer Product Box does, we would like to share step-by-step how to build a stunning and sale - driven Featured Product list by this feature.
Featured Products for Homepage
Normally, you only can build this section by Product grid element.
As you can see in the illustration below, the Product grid only supports you in creating a basic and static grid layout. It means you can’t add the extra feature on that.

Meanwhile, when building Featured Products list by Product box, you can add any functions and adjust each elements’ display freely and flexibly. Hence, you can present more information to the visitor to increase the persuasiveness of your products.

Normally, we only can build a basic grid with limited customizing ability….

So how to build your awesome Major Products list on Homepage like that? Just follow several steps below:
Step 1: After you add EComposer Landing Page Builder, click on Start Building button -> choose Homepage.

Step 2: Set the structure for your Featured product list by selecting given element structure or picking Inner row element.

Step 2: Go to Shopify -> Drag Product box and drop to the selected area you have already created.
The default Product Box appears in front of you.
Step 3: Customize your Featured product list
You can adjust each element in its editing workplace.
Moreover, you can add the extra features and extensions on the product box to display any product information you want.
Step 4: Complete your Featured product list
Everything you need to do is duplicating the product box template you have done and changing to another product.

Once you changing your product image in a Product Box
Then we have a completed Feature Products section built by Product box.

Also, there are other ways to generate and display your ideal Featured Products list here.
Product details of Landing page
According to Google helps, a qualified landing page needs to satisfy several requirements of showing Product data:
- Showing enough of your product's key elements (title, description, image, price, currency, availability and a buy button), and make sure the details match what you imported in your Shopify admin.
- Your key products need to be prominent.
- Ensure that availability corresponds to your product data and that products can be successfully added to a cart and delivered to a customer.
EComposer Product Box is exactly what you need to showcase your products on a landing page that is available to trigger sales immediately instead of leading visitors to Product Page.
Besides Key Products (Featured Products), let’s dive in how this feature can assist you with displaying the Product details section on Landing page that helps you generate more sales and conversion from scratch.
Step 1: Open EComposer Landing Page Builder on your Shopify store, then choose Start Building -> Landing page

Step 2: Set up the frame for Product details
- Open EComposer’s given structure and select one column to set up the area to build your landing page’s product main section.

- Picking Product Box element on Shopify section, placing it in the area you have set already. Then add 2 columns on the Product box.
Step 3: Adding additional elements of Single Products to complete your stunning Product main Section for your Landing page, such as:
- Quantity
- Variants
- Price
- CTA Buttons (Add to cart, Buy now)
Here is a completed Product details section in basic built by EComposer Product Box.

[ecom-global-block]ecom-shopify-commerce-coach-block[/ecom-global-block]
Final words,
That's a wrap of How to Free display Product data on Shopify pages by Product Box.
We hope this article can give you a clear picture of visualized product display necessity, as well as introduce our new outstanding feature: EComposer’s Product Box.
You can read our manual doc to understand how to configure this element here.
This element is prospected as a powerful tool for you to build and customize your Product display much easily and flexibly.
Follow ecomposer.io to see updated news, and many guidelines and experiences to build your professional Shopify store fast and easily.
—----------------------
Add EComposer Next generation page builder to experience updated cool features and add-ons
Follow Us on Facebook
Join Official Community
Open New Shopify store with the newest Exclusive discounts
Maybe you interest:
Best design tips to make a professional Shopify store
4 Ways to showcase featured products on Shopify homepage
Build your highest-converting page in 15 minutes


Blog Categories


0 comments