How to add Shopify Ajax Cart easily on your store
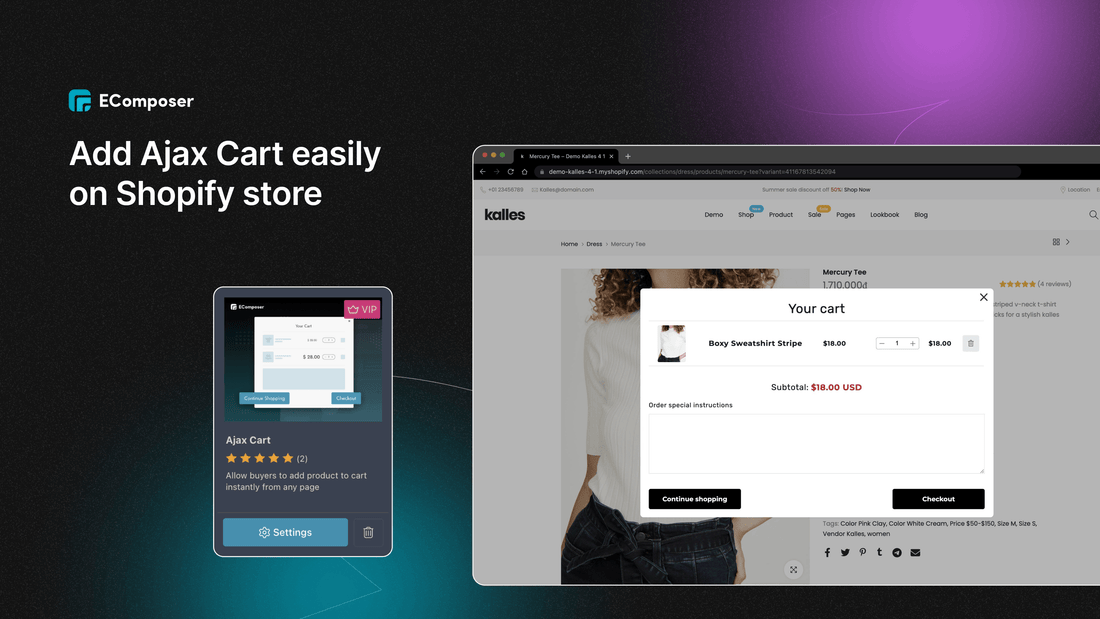
Table Of Contents
You want your online customers to add to cart as fast as possible, even when they have just accessed your Homepage or Landing page?
That’s what Ajax cart can do for you.
In the blog: How to add Ajax cart Shopify on eCommerce store, we will explore what Ajax cart exactly is, its literal benefits and the ways to apply on your store.
Interesting? So let’s dive into it.
What is Ajax cart

Ajax is an acronym of Asynchronous JavaScrip and XML.
It is a web development technique that is used to create interactive web applications. Ajax combines HTML, CSS, and JavaScript to provide users with a more responsive and faster web experience.
Ajax cart (or Ajax add- to- cart) is a feature that allows users to add items to their shopping cart without refreshing the page. Then it leads to a more efficient and user-friendly shopping experience.
Top advantages of Ajax Cart
Ajax cart is one of the must-have features for your store. Let’s take a look at its top benefits and downsides when your store has added this feature
Reduce server traffic - increase speed
The first and most obvious advantage of Ajax cart is improving the performance and usability of your Shopify store.
In particular, Ajax techniques enable applications to render without data, reducing server traffic within requests. Having said that, store developers can significantly reduce the time spent on both sides' responses.
As a result, with Ajax implementation, your online stores’ visitors will never see a white window or have to wait for pages to refresh.
Allow asynchronous calls.
Those who are unfamiliar with Lazy Loading, it is an optimization technique widely used for online content. Ajax benefits Shopify merchants by allowing them to use its framework for lazy loading.
It helps to make asynchronous calls to the page server without having to reload the entire store. You don't have to wait for the entire Shopify store to load in order to access the entire page content as a web visitor.
The concept of lazy loading aids in loading only the necessary sections and deferring the remainder until it is required by users. Thus, Ajax Lazy Loading not only improves your whole store loading time, but it also boosts your user experience and conversion rates.
Eliminate your bandwidth usage.
Another advantage of Ajax is its low bandwidth consumption. This action has been shown to improve web performance and load speed.
By retrieving particle contents rather than transmitting the entire page's content, Ajax makes the best use of the server's bandwidth. This means you can pull data from the database and store it in the database to perform background tasks without having to reload the page.
Encourage checkout faster
Your page will reload every time a user adds an item to the cart. Therefore, the purchasing process may be slowed. And it may result in cart abandonment.
That’s why Ajax is critical to keep your cart updated on a regular basis in order to run a successful store. adding ajax to your cart features can reduce cart abandonment because it increases the speed of the web page and reduces the chances of reloading.
[ecom-global-block]ecom-shopify-trial-block[/ecom-global-block]
How to add Customer-driven Ajax Cart
Before showing out major methods to add efficient Ajax Cart to your Shopify store, there are some notices that we want to share with you.
- First, ensure that your theme is Ajax-compatible.
- Second, you need to decide whether you want to use a third-party app or code the Ajax functionality yourself.
- Third, before going live with your implementation, you must thoroughly test it.
Ajax cart can be added manually by using a Shopify Ajax API.
 But the main drawback of this method is that you need some coding skills, which is the biggest advantage of you and most of Shopify users.
Another cons of Shopify Ajax
So don’t worry. We are here to show you more worth-it methods which are easy to implement.
Use Ajax cart app
Go to Shopify App Store and search for "Ajax cart" keyword and see apps that can help you add Ajax cart on your Shopify store fast and easily.

They can be beneficial solutions to create a powerful Shopify Ajax Cart. But before adding to your Shopify store, you need to know the main disadvantages of those apps. They may impact your Store performance significantly. These are:
- Most of them only give you a short period of free-trial time (from 7 to 14 days for free use). Then you need to charge to continue running those apps in the store.
- Adding third-party apps can reduce your site speed - one of the most important aspects to retain visitors in an online store.
- Ajax cart configuration and functionality are not complicated, therefore there shouldn't be a need for a monthly fee to pay and use third- party apps.
To eliminate those downsides, EComposer provides you with a more optimal solution. Let’s explore below!
Use EComposer Extension
If you add EComposer - Next Generation Page builder, besides full support in building any pages like Homepage, product, landing pages, etc. you can also turn on higher sales and conversion with Ajax cart - one of the cool features in EComposer’s extension library.
This feature works perfectly on all product pages, collection pages, home and landing pages. You can absolutely use EComposer Ajax Cart lifetime when upgrading to any EComposer paid plans.
Please follow the steps below to apply Sticky Add to Cart for your store.
Step 1: Add EComposer Landing Page Builder to your store.

Step 2: Open the Extension popup, you have two ways:
- Click on the Extension icon at the top left corner of the EComposer Editor.
Or
- Under the Extension tab, click Add more.

Step 3: In EComposer’s Extension library, you can instantly find out and install the Ajax Cart extension.

Step 4: Configure Ajax cart’s setting.
In the Ajax cart’s Setting option, we have:
- Enable ajax cart: To activate the Ajax cart on your store.
- Enable order note: to allow your customers to fill in the Order Special instructions before Checkout.
- Trust Seal Image: To add trust seals and badges to your store that increases your conversion rate much better.
Step 5: Customize your Add to cart button
After installing and activating Ajax cart extension, let’s get back to the Editor, then:
1. Seeking, dragging and dropping your Add to cart to any place you want on your page.
2. Going to “Add to cart”s editing workspace, then find Section “Added to cart then”. That’s the place you will customize how EComposer Ajax Cart displays.

EComposer Ajax cart provides you 6 different options to choose:
- Show cart popup,
- Reload page,
- Show a message,
- Redirect to cart page,
- Go to checkout page,
- and Go Special URL.
To see more detailed instructions, we would love to give you a manual guide here
Especially, check out our given tutorial video of EComposer Ajax Cart extension usage below.
[ecom-global-block]ecom-shopify-commerce-coach-block[/ecom-global-block]
Final words
We hope this article can give you the insight to decrease cart abandonment via the instruction of adding and customizing Ajax Cart.
Please don’t hesitate to spread our guide out if you find it useful. We greatly appreciate your concern.
Also, if you have any questions or need any support, feel free to leave a comment in the comment box below or contact us here.
—--------------------------------
Create your ideal Shopify store with Exclusive discount
Install EComposer Here
Follow Us on Facebook
Join Official Community
May you interest
How to Create a High-Converting Shopify Product Page
12+ Amazing Shopify Contact Us Page Templates
10+ Effective collection page templates in Shopify







0 comments