


EComposer is #1 Drag & Drop Page Builder that helps you create professional Shopify websites without any coding. Provide 100+ design elements and 300+ templates, there’s no limit to what you can build. Install EComposer for free today and start building the store you’ve always wanted.
How to add Shopify Blog section on your store pages
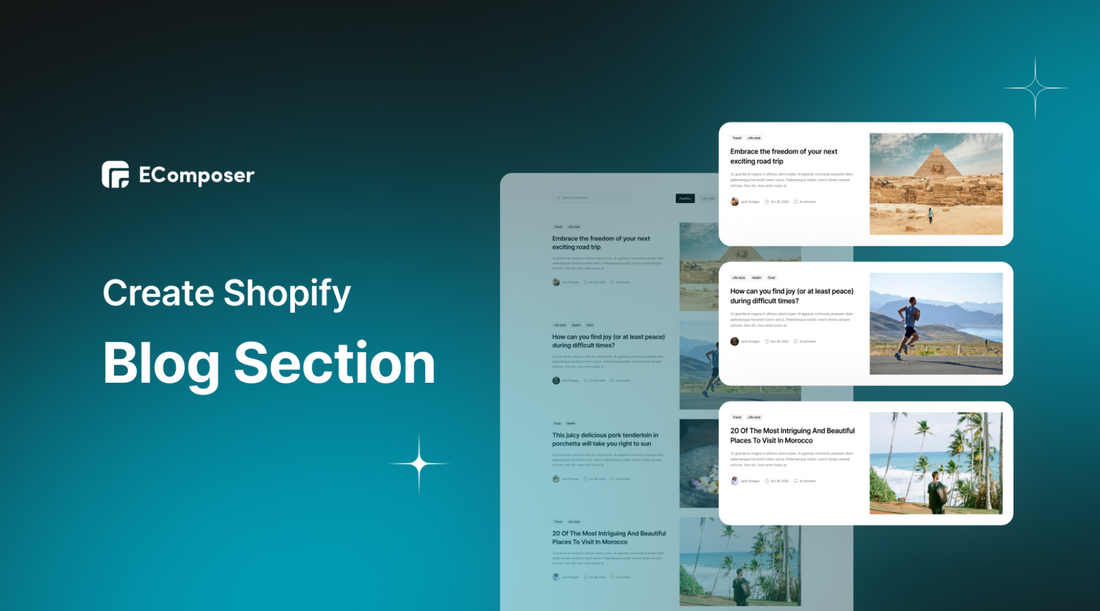
Table Of Contents
In the fast-paced world of eCommerce, weaving compelling narratives has become an essential tool for success. This blog will unravel the secrets of adding a captivating Shopify Blog section to your store pages.
We will walk through the art of storytelling and harness the full potential of a Shopify blog section to create a lasting impact on your customers. Get ready to engage your audience, boost your brand, and take your online store to new heights.
What is Shopify Blog section?

The Shopify blog section refers to a dedicated section on your online store where you can show and manage featured blog posts. Blogs are a valuable content marketing tool that allows you to share informative and engaging articles, stories, updates, and news related to your products, industry, or brand.
It typically includes article titles, publication dates, featured images, and social sharing buttons, allowing readers to access and share your blog content easily.
Benefits of blog section on Shopify store pages

- Enhanced Engagement: A Shopify blog section attracts visitors' attention, encouraging them to explore valuable content. Engaging blog posts keep users on your website longer, reducing bounce rates and fostering a connection with your brand.
- Established Authority: Showcasing curated blog posts highlighting your expertise and industry knowledge establishes your brand as an authoritative source. As a result, they are more inclined to return for insightful commentary because you have earned their confidence.
- Improved SEO: Fresh and relevant blog content in the featured section boosts your website's SEO ranking. Search engines favor regularly updated content, increasing your chances of being discovered by potential customers.
- Promotional Opportunities: Utilize the featured section to spotlight new products, promotions, or upcoming events. Promotional blog posts subtly influence visitors' purchasing decisions, increasing conversions.
- Customer Connection: Engaging blog entries help you establish a stronger relationship with your readers. By addressing their requirements, concerns, and interests, you build a base of loyal buyers who appreciate your brand's contributions outside its products.
How to create Shopify Blog section by customizing theme
- First, access your online store by going to “Themes” under “Online Store” and then choosing “Customize”.

- Next, open the page you want to add a blog section to work on. For example, you want to create a Shopify blog section on your homepage.

- After that, click on “Add section” and select “Blog posts”

- Move the created blog section to the position you like.

- Now, it’s time to customize the blog section. With Shopify's default function, you can change the blogs, edit the heading, and adjust the number of blogs to show and the number of columns on the desktop.

- Finally, click “save” to publish your change.

Although this way is relatively easy to follow, it will not serve all your needs to build a stunning and professional section because of its limited customization options. Hence, looking at the second way with EComposer Shopify landing page builder to make it easier and more professional.
How to easily customize Shopify Blog section with EComposer
EComposer is a top-rated Shopify page builder app. It enables you to create pages with outstanding features and advanced elements, such as a homepage, blog page, and more. Moreover, this app has an extensive library of template sections & pages for you to customize freely.
Follow our guide to create a featured blog easily with EComposer.
Step 1: Open EComposer
- First, you have to install EComposer from Shopify App Store by navigating to “EComposer Landing Page Builder” and then hit “Install” to add the app to your Shopify store

- Go to “Apps” from Shopify admin, and click to choose EComposer.

Step 2: Customize Shopify blog section
- From the EComposer dashboard, choose a page to add Shopify featured blog section.

- There are two ways to create a featured blog section on Shopify with EComposer: using “featured blog elements” or “blog section template”
Using “Featured blog” elements
- Navigate to the “Featured Blog” element under the “Shopify” category. Drag & Drop it in the created section.

- Click on the editing pen to open the editing section on the left. This allows you to adjust the content and design of this element.
Content

General settings
- Select a blog: You can pick any blog you want to select, and you can quickly Modify or Delete it.
- Layout: This will assist you in understanding the presentation's style, such as Grid or Slide.
Additionally, you can make many entertaining settings, like Maximum articles to show, Title, Post Excerpt, and Post Meta, which enables you to alter the date display style, and Post Tags, the final one.
Slider Settings (when selecting the slide layout):
- You can choose fascinating features for your presentation slide, such as Infinite Loop, Autoplay, or Pause on Hover, to start.
- Following your settings, you may also modify the slide's Speed, Items per row, Column gap, and Row gap. Let's make it appear excellent.
- Additionally, you may alter the Prev-Next icon's position and the Navigation layout in this section. You can also alter the Transition time, which controls how quickly the other page changes, to convert it to a different style.
Grid Settings (when deciding on a grid layout)
- Items on row: Using this element, you may decide whether 2 or 3 articles should remain on the row at any one time.
- The distance between each post can be changed depending on whether you want them to be close together or spaced out slightly.
Design

- Image: As you can see from the explanatory video below, you can alter the alignment, width, height, border radius, and other aspects of the image to make your image appear more vivid and realistic.
- Title: The basic properties like text alignment, text color, text-shadow, and many more can all be changed with this function.
- The Description, Tags, Datetime, Author, and Comment Count are some of the beautiful aspects. Combining those significant components will enable you to design the ideal featured blog.
Using the “blog section” template
- From the EComposer editor, access the template library by clicking on the “Template Library” icon.

- Search for the “blog” section, and then you can see a lot of premade blog sections with stunning designs. You can choose the “Preview” option or “Insert” to add that section to your page.

- Similarly, you use the left-side editor to adjust the content and design of the element.
Step 3: Save & Publish
Finally, after completing all the customization, hit the “Publish” button at the top and select “Save and publish” to complete.

- Choose “View” to see the result.

Looking at the details guide here: Featured Blog section
Tips to make Shopify Blog section effective
Strategic Selection
Handpick the most captivating and informative blog posts to feature in this section. Choose content that aligns with your current marketing objectives, promotions, or seasonality. Showcase blogs that highlight your brand's expertise and resonate with your target audience.
Visually Compelling Layout
Design the featured blog section with an attention-grabbing layout. Utilize eye-catching images, clear headlines, and brief summaries for each blog post. Ensure the layout is consistent with your website design, maintaining a seamless user experience.
Regularly Update
Refresh the featured blog section frequently to keep it dynamic and relevant. Replace older posts with newer ones to showcase your latest content. Regular updates encourage visitors to return and discover fresh insights, products, or promotions.
Call-to-Action (CTA)
Incorporate strategic CTAs for each featured blog post. Direct visitors to read the full article, explore related products, or sign up for newsletters. Well-placed CTAs can drive higher engagement and conversion rates, guiding visitors toward desired actions.
Track Performance
Use analytics to measure the effectiveness of your featured blog section. Monitor click-through rates, time spent on blog posts, and the impact on overall website traffic and conversions. Analyzing performance data allows you to refine your content strategy and optimize the section for better results.
By implementing these tips, you can make the most of your Shopify blog section, showcasing compelling content that engages visitors, builds authority, and drives desired actions. A well-optimized Shopify blog section can enhance your brand's online presence and contribute to the success of your business.
Final thought
The Shopify blog section is a game-changer. It lets you showcase your top blog posts, highlight your most valuable content, and capture your customers' attention. By incorporating this section, you can captivate your audience, earn their trust, and position yourself as an expert in your field.
Throughout this blog, we've provided step-by-step instructions and practical tips. Now it's your turn to unleash your creativity and make your blog section truly shine. Craft compelling content, share your expertise, and connect with your customers on a deeper level. Get started now and witness its remarkable impact on your business.
Others also read
Add and Customize Shopify Image with Text Section
create an impressive Shopify header section
Create Shopify Accordion section
Add an Instagram Section on Shopify


0 comments