How to Create Custom Page Template in Shopify

Table Of Contents
You have your own business and you want to build an online store in Shopify to introduce your products to online shoppers. However, you’re struggling with how to do it effectively because of technology requirements and time wasting.
Don’t worry! Shopify page templates are the things you need for your Shopify stores. They allow you to make premade page layouts quickly with new content and harmonious design. You can apply them conveniently for making a fantastic store without lots of effort.
This blog will cover the types of Shopify page templates and how to create them easily with EComposer - Landing Page Builder app. Follow us!
What are Shopify page templates & why do you need them?

(image source: EComposer’s template)
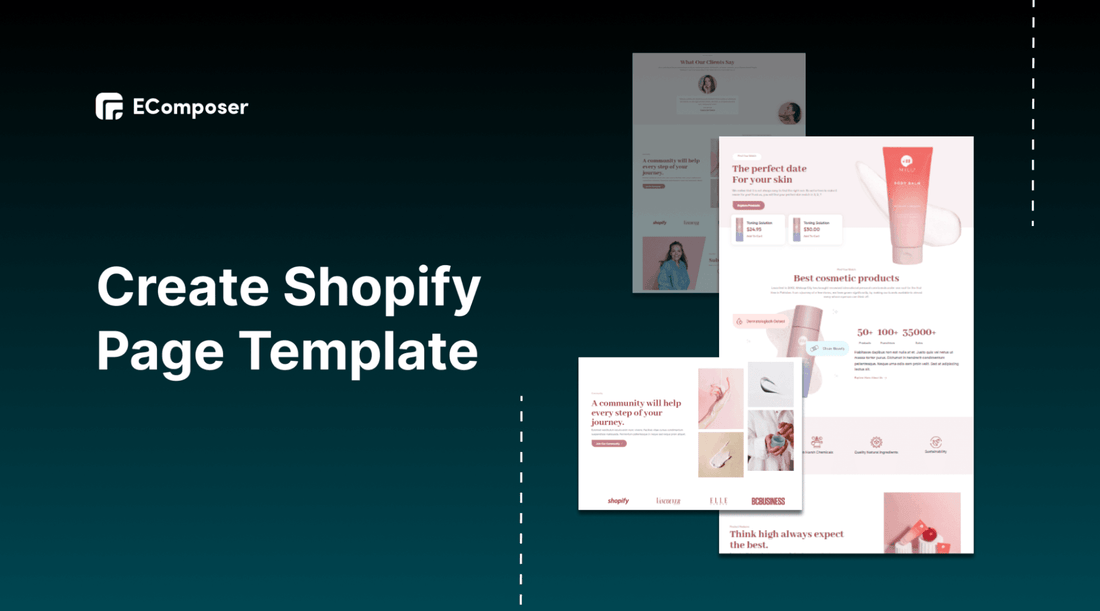
A Shopify page template is your store's page layouts which were created before. As a result, they have set everything up for you rather than starting from scratch.
A template may help you create a website that accurately represents your brand by including specifics like the fonts, general design, and formatting and as well as organizing the content on the page. Once a template is established, you can alter it to fit your brand and add the functionality you want.
Page templates typically target a single page or a collection of pages with a high level of information.
[ecom-global-block]ecom-shopify-trial-block[/ecom-global-block]
An essential advantage of Shopify page templates is it saves your time and effort. Previously, if you want to change or adjust everything even add a new page, you need to have coding knowledge, it takes time a lot.
With EComposer templates, you only need to quickly, easily, and simply modify the information. Moreover, page templates look so beautiful and professional. That’s the reason why you should use premade layouts for your Shopify stores.
Types of page templates
There are many different types of pages, thus you can design many different page templates.

-
Shopify about us page: You may engage clients using your About Us page, which is a powerful tool. It should include details about your brand story and unique selling offer.
-
Shopify product page: When customers arrive at your product page, they anticipate getting confirmation of their decision and clarification of any questions they may have. A great product page can convert and lead sales.
-
Shopify Coming Soon page: Your Shopify store will require a password page to restrict access before it launches. You might use this as your Coming Soon page.
-
Shopify collection page: Enable "window shopping" for customers by grouping your products into collections based on their similarities.
-
Shopify blog page: By posting blog entries on your Shopify store, you may build backlinks, advertise your products, and foster online communities.
-
Shopify Contact Us page: The contact page in Shopify store helps customers to reach your stores so you can give customer support.
-
Shopify landing page: A landing page is a separate web page created expressly for a marketing or advertising campaign. A visitor "lands" on it after clicking on a link or a website page. They are produced with a particular emphasis or call to action in mind.
-
Shopify homepage: a homepage is the web page or template that functions as the first impression of your Shopify store. Your homepage serves as both an overview of your company and a roadmap for where visitors should go next.
How to create page templates by Shopify builder
- In your Shopify admin, go to Online Store, and choose “Customize” theme.

- In the dropdown menu, there are many kinds of pages, determine the page type you want to create and click on it.

- I will select the collection page as an example in this blog. After hitting the collection page, you choose “Create template” to start.

- Name the page template then hit “Create template”

- Now you can edit, change and adjust the information as well as the sections on the left sidebar.

- Finally, when you finish all the steps, hit “Save” at the top right corner to save the change and publish this page to your customers. However, you also choose the “Save” option to store the template only for later.

How to create and customize Shopify page templates by EComposer
You can use the theme functions in the first way to build page templates; however, it takes time and limits the customization level of the page. Hence, we recommend you use Shopify page builder apps to create the page templates for your Shopify stores professionally and eye catchy.
In this blog, we'll provide a detailed lesson on how to use EComposer to quickly and easily establish your Shopify page templates.
EComposer Landing Page Builder with brand positioning is the next-generation page builder you need to create a perfect Shopify store that provides the best customer experiences to customers. It is evaluated to be one of the top Shopify page builder applications.
With a variety of elements and pre-made layouts, you can effortlessly design your business. Additionally, a powerful drag-and-drop editor and round-the-clock customer assistance take care of all the stages.
Follow these steps to create Shopify page templates for your online store.
Step 1: Install EComposer
- In the Shopify app store, search “EComposer Landing Page Builder” then hit “Add app”

- To activate the use of the app, click “Install”
Step 2: Create and customize Shopify page templates
- To start working with EComposer: you have to open this app by going to “Apps”, and then select the app with the blue logo.

- In EComposer Dashboard, hit “Start Building” at the top right corner.

- Here, you choose the type of page you want to create by scrolling down and hitting the “plus” button next to the chosen one. In this example, we build a “landing page”.

There are two ways to make a page template in Shopify with EComposer.
1st way: Create Shopify page templates with EComposer’s elements
- Choose Blank Template

Name the page and hit “Start Building”

By doing this way, you can freely customize your page template with your creativity. For instance, we make a Home Page.
- First, choose a suitable structure.

- Secondly, Choose elements from the left sidebar to drop them in the desired location.

- Select “editing pen” to open the editing section on the left. You can change the content or adjust the information as well as the design factor of the page there.

- After completing the customization, click on “Publish” at the top right corner, and then select “Save” to save as the template for use later.

2nd way: Customize EComposer premade templates
To save you time and effort, EComposer with the expert design team built premade layouts of various fields. You only need to choose the fittest templates and customize some details to specific them to your pages.
As mentioned in the types of page templates, based on your needs and requirements, you can choose the page templates to start with.
There are a lot of choices for you to choose from. You can sort the results according to the price (free or paid), the newest, top trending, and the types of pages. Scroll down the left bar to select the needed one, click on it and then the premade templates appear.

- Click “Choose” in the selected template to start customizing

- Name the page then hit “Start Building”

- It’s the same as the previous way, you can add on elements

- Also, adjust the components such as text, and pictures by hovering over the sections, clicking “editing pen” then changing the information on the left side with “Content” & “Design”

- Finally, click “Publish” at the top, turn off the “Publish” mode then hit “Save” for saving data only. You can use this template later.

How to add (publish) page template in Shopify live theme
If you want to publish and show the newly created template to your customers, you carry out the following process:
- If you have just created the template and want to publish it immediately, click “Publish” on the top right corner. Turn on “Publish” mode and then select “Save and Publish” to save data and publish the template to store.

- If you want to Publish a saved template, open EComposer first.
In the EComposer dashboard, scroll down, you can see the unpublish templates, move to the page you want to publish, and select “Continue edit”.

After that, the app will direct you to the editing template, you just need to repeat the steps: Save > Save and Publish to complete.

Shopify duplicate page template
It is possible to copy an existing template and save it with a new name without coding requirements in EComposer. This is useful if you want to have comparable templates and don't want to start from scratch.
Step 1: Open EComposer app
Step 2: Go to the page that you want to duplicate, choose the “Duplicate” option

This is the result, the page is duplicated successfully in Draft.

Shopify delete page template
To delete the page template, open EComposer.
- Go to the type of page which you want to remove
- Select “Remove”

Note: In case you need to remove a public page from EComposer, remember to restore the appropriate Shopify default page before.
[ecom-global-block]ecom-shopify-commerce-coach-block[/ecom-global-block]
Sum up
Generally, this blog covered the main points of Shopify page templates. Besides, you can learn how to create and customize Shopify page templates via the ultimate guide of EComposer. We hope that this will be useful for you in building Shopify eCommerce stores.


0 comments