How to add section to Shopify Product Page easily
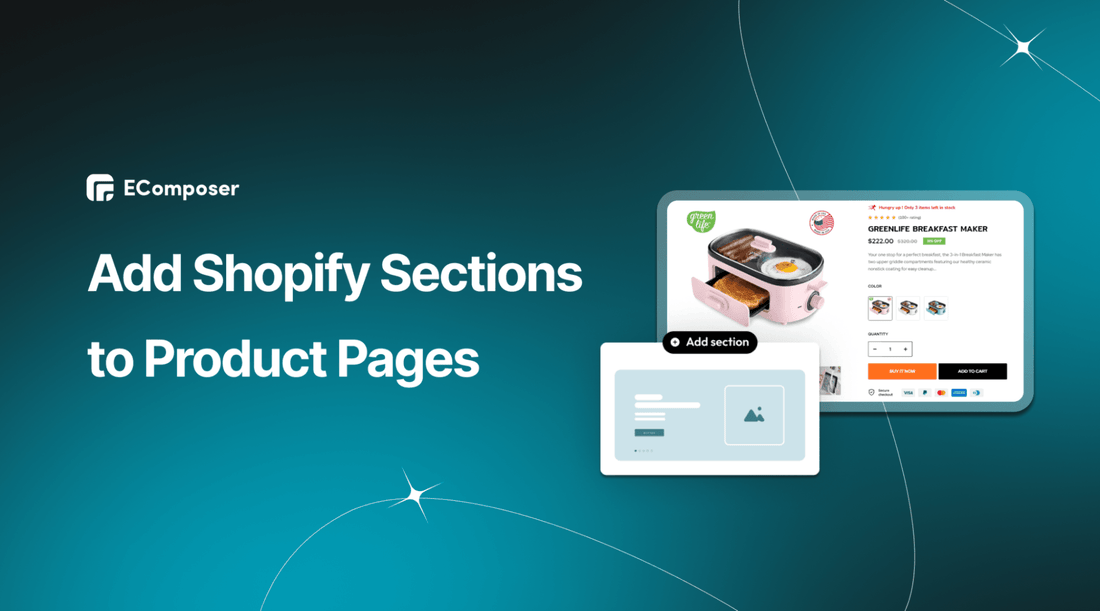
Table Of Contents
Maximize the potential of your Shopify store with a simple yet groundbreaking solution – custom sections on your product pages. It's time to level up your eCommerce game and give your customers an unforgettable shopping experience. Engaging visuals, interactive elements, and dynamic content – all seamlessly integrated into your product pages.
In this guide, we're unveiling the secret to add sections to product page Shopify effortlessly. Join the ranks of successful eCommerce entrepreneurs. Let's dive in and supercharge your sales!
What is Shopify Product Page?

(image source: EComposer’s layout)
A Shopify product page is a specific web page within a Shopify online store that provides detailed information about a single product available for purchase. It is a dedicated space to showcase a product's images, descriptions, pricing, variants (such as different sizes or colors), customer reviews, and any additional relevant information. Shopify product pages are designed to engage and inform customers, guiding them through decision-making and encouraging them to purchase.
Product pages can be customized based on the theme and design of the Shopify store, enabling online merchants to present their goods in an eye-catching and informative manner. These pages are a crucial part of the online shopping experience, as they significantly convert visitors into customers.
Advantages of an attractive product page
Higher Conversion Rates
An appealing product page grabs visitors' attention, making them more inclined to explore further, ultimately increasing the likelihood of purchasing. The visual appeal creates a positive first impression, which can significantly impact conversion rates.
Enhance User Experience
An attractive layout with visually pleasing elements, such as well-organized product images, concise descriptions, and easy-to-find pricing, ensures a smooth and enjoyable shopping experience. Customers can navigate effortlessly and find what they're looking for without frustration.
Effective Product Presentation
High-quality images and detailed and compelling product descriptions help customers understand the product's features, benefits, and potential uses. This information empowers customers to make informed purchase decisions, reducing uncertainty.
Extended Visitor Engagement
Interactive elements, such as product videos, 360-degree views, and customer reviews, keep visitors engaged for extended periods. The more time customers spend on your product page, the more likely they are to build a connection with the product and consider purchasing.
SEO Benefits
Search engines value user experience, and an attractive product page contributes to a lower bounce rate, longer dwell time, and higher click-through rates. These positive signals can improve search engine rankings and increase organic traffic.
In summary, an attractive product page showcases products effectively, enhances the overall shopping experience, builds trust, and supports various marketing efforts, ultimately leading to increased sales and customer satisfaction.
How to freely customize section on Shopify Product Page with EComposer
You can easily add a section in Shopify themes; however, the Shopify default function doesn’t offer flexible customization options. Hence, you can easily use EComposer to create and customize a stunning section and add it to your Shopify theme because EComposer is entirely compatible with OS2.0.
EComposer is the ultimate solution for Shopify page-building excellence. As a top-rated Shopify page builder, EComposer empowers you to craft stunning, dynamic custom pages that captivate your customers' attention. This app offers cutting-edge elements and extensions to elevate your Shopify stores’ performance. Seamlessly customize layouts, optimize for mobile responsiveness, and access a rich library of eye-catching templates in every type of Shopify page, from a landing page, homepage, and collection page to an about us page, etc.
With EComposer's outstanding features, such as AJAX cart, Page analytics, image optimization, and AI content generator, you'll quickly transform your ideas into reality, creating a unique online presence that engages, converts, and leaves a lasting impression. Install EComposer to elevate your Shopify store and unlock the potential of limitless creativity and success.
Follow the step-by-step guide below.
Step 1: Install & Open EComposer
- From Shopify app store, navigate & click on “Install” to add EComposer Landing Page Builder to your Shopify store

- Go to Apps in your Shopify admin, and choose “EComposer” to open it.

Step 2: Create & Customize Product section
- Navigate to “Shopify sections”, and click on “Create section” at the top

- You have two options: choose “Blank template” or a premade layout to customize. There are various section templates built by EComposer experts to ensure an impressive presence and optimized function. You can select one to save your time. However, If you want to create a new one with your idea and creativity, you can choose “Blank Template” to build it from scratch with advanced EComposer elements.

Using EComposer elements
- Choose “Blank Template”, name the section then click on “Start Building”

- Next, select the structure of the section. You also can see a lot of elements on the left side.

- In this example, I will create a gallery section to add to my product page. Search for “gallery”, and drag & drop it into the desired location.

- Adjust its content & design

- You can add “Heading “ and a “Button” element to this section.

Using the EComposer Premade section
- Instead of choosing “Blank Template”, you search and choose a template you like. Or in the EComposer editor, you click open “Template library” by hitting on the button on the left.

- Search the section template you want to add, then click “Insert now”

- After that, you just need to customize the template to make it yours: from images to text, etc.

Step 3: Save the Section
When you finish editing for the section, click “Save” at the top right corner, turn on the “Publish” mode, then select “Save and publish”.

How to add section to Shopify default product page
- Firstly, in your Shopify admin, go to “Themes” under “Online Store”, and then click on “Customize”.

- Navigate to “Products” in the dropdown menu

- Select “Default product”

- Click on “Add section” and type the name of the section you want to add. In this example, you will find the “Product section” that you created by EComposer in the previous step.

Create a section group if you want to add a section on the Shopify header or footer.
- Move the “Product section” to the desired location.

- If you want to make any changes on this section, go back to EComposer to custom it, then save it as usual.

- Finally, click on “Save” to save all the changes.

- This is the result.

- Watch the video guide here: Insert the section into the Shopify theme
- Besides; you also can create & add sections on Shopify Product Page, which is built entirely by EComposer.
Tips for designing a high-conversion Shopify Product Page

- Clear Product Imagery: High-quality images from various angles visually understand the product. Zoom-in features and 360-degree views offer an immersive experience, helping customers inspect details closely before purchasing.
- Compelling Product Descriptions: Craft concise yet informative descriptions highlighting the product's essential features, benefits, and solutions. Use persuasive language to evoke emotions and connect with customers' needs.
- Visible Call-to-Action (CTA): Place a prominent and clear CTA button that stands out. Use action-oriented words like "Buy Now" or "Add to Cart." Ensure it's easily accessible without scrolling, encouraging quick action.
- Customer Reviews and Ratings: Showcase authentic reviews and ratings. Social proof builds trust, demonstrating that others have enjoyed the product. Star ratings and genuine feedback create confidence in potential buyers.
- Mobile Optimization: Ensure your product page is fully responsive across devices. Mobile devices account for a sizable share of online purchasing. A seamless mobile experience should be noticed, including easy navigation and quick loading times.
These tips optimize the product page for conversions by enhancing user experience, building trust, and streamlining the buying journey.
Bottom line
Incorporating custom sections into your Shopify product pages can transform your online store's performance. With seamless integration and creative flexibility, you can captivate your audience, boost conversions, and leave a lasting impression.
Take advantage of the opportunity to enhance your customer's shopping experience and drive higher sales. Elevate your eCommerce game by effortlessly adding EComposer sections to your product pages. Get started now and watch your store thrive like never before!
Others also read
Shopify section groups for theme customization
Add Shopify Blog section on pages
Add an Order Notes Section in Shopify
Add an Instagram Section on Shopify









0 comments