How to include Shopify Helpdesk button in your stores
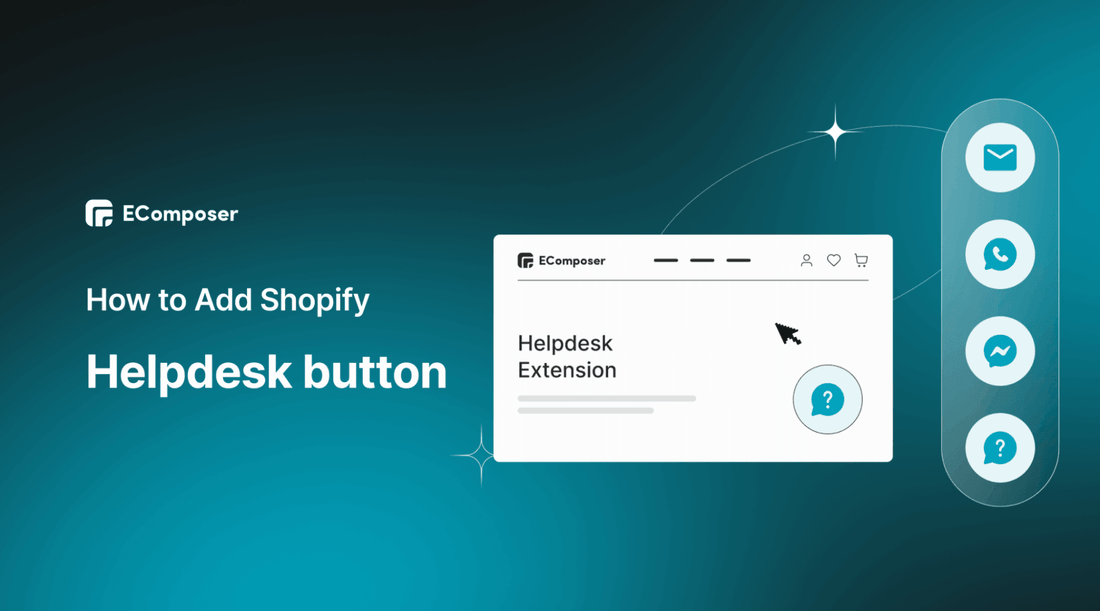
Table Of Contents
Did you know that customer support is a top priority for online shoppers?
According to Hubspot (2022), 90% of customers rated an immediate response as essential or very important when they have a question.
That's why including a Shopify Helpdesk button on your website can make all the difference. This simple addition can provide your customers with immediate assistance whenever they need it, increasing their satisfaction and loyalty to your brand.
In this article, we'll guide you through adding a Helpdesk button to your Shopify store and provide some tips for optimizing your customer support strategy. So whether you're a seasoned eCommerce pro or just starting, keep reading to learn how to provide your customers with the best shopping experience!
What is the Shopify Helpdesk button?

Besides image solutions for Shopify stores such as image hotspot, and Shopify gallery; the Helpdesk button is also an amazing support tool to enhance customer experience. So what is it?
The Shopify Helpdesk Button is a feature that allows customers to contact a store's support team directly from their website. The button appears as a small icon in the lower right-hand corner of the screen, and when clicked, it opens up a menu with various options for getting assistance such as live chat support, email, social, and more.
From the Helpdesk menu, visitors can search the Store Help Center, view their past support requests, create a new support request, or start a live chat with a support representative. This feature serves as a convenient way for your customers to quickly get the help they need without having to leave your Shopify stores.
Advantages of Shopify Helpdesk button

Explore the amazing benefits of Shopify Helpdesk button below.
Improve Customer Satisfaction
The Helpdesk Button allows customers to reach out to your support team easily and quickly, leading to faster resolution of their issues or answer to their questions. This improved level of customer service can result in increased satisfaction with the shopping experience and ultimately lead to repeat business.
Increase Sales
By providing prompt and efficient support, your businesses can improve conversion rates and increase sales. If a customer encounters an issue during the checkout process, having the ability to contact support quickly can help them resolve any problems and complete their purchase. Furthermore, if customers feel confident that they will receive excellent customer support, they may also be more likely to make future purchases from the online store.
Reduce Cart Abandonment
Customers may abandon their cart for various reasons, including technical difficulties or unclear instructions. With the Helpdesk Button, customers can get assistance immediately to help resolve any issues they are experiencing, reducing cart abandonment rates and increasing the likelihood of a completed purchase.
Data Collection
The Helpdesk Button can also be used as a tool for data collection, allowing you to identify common issues and trends among customer inquiries. This information can be used to improve products and services, enhance customer support processes, and overall, improve the shopping experience for customers.
Overall, the Shopify Helpdesk Button has many benefits for your online stores. By providing exceptional customer support, your Shopify stores can build trust with customers and create a loyal customer base that will continue to make purchases in the future.
[ecom-global-block]ecom-shopify-trial-block[/ecom-global-block]
How to add & customize Shopify Helpdesk button with EComposer (Fast & Easy)
EComposer - the ultimate Shopify page builder that is designed to help businesses create stunning and high-converting online businesses in a matter of minutes. From start-ups to established brands, EComposer provides an intuitive and user-friendly interface that allows you to design and customize your Shopify store without any coding knowledge.
With EComposer, you can select from a range of templates that are fully customizable to match your brand's style and aesthetic. Its drag-and-drop editor makes it easy for you to add design elements to your pages with just a few clicks.
EComposer also provides a responsive design, ensuring that your website looks great on every device, including tablets, smartphones, and desktop computers.
As a top-rated Shopify page builder, EComposer offers advanced features like All in one analytics and integrations with popular apps. With these features, you can track your store's performance, and gain insights into customer behaviour.
Helpdesk is an extension of EComposer which is available on paid plan. This extension helps improve the accessibility of your website by utilizing its customizable accessibility buttons, which can be linked to a variety of resources such as your social media profiles or helpful documents. By doing so, you can provide users with easier access to important information and enhance the overall user experience on your website.
Now, follow the step-by-step guide to creating a Shopify Helpdesk using EComposer.
Step 1: Install EComposer
- In Shopify App Store, search “EComposer Landing Page Builder” then click “Add App”
- Next, click “Install” to start using EComposer’s features

Step 2: Start creating Shopify Helpdesk
- Open EComposer: in your Shopify admin, go to the “Apps” section to choose EComposer

- Click “Start building” at the top right corner to build a new page or open one of the existing pages that you’ve created before.
- In the EComposer editor, you can hit the extension icon at the top or click “Add More” under the “Extensions” tab to open “Extension Library”

- From here, fill in “Helpdesk” in the search box, and you can see the Helpdesk extension. Choose “Install” to start adding it to your Shopify stores.

- You will be notified that the Helpdesk extension has been install successfully.

Step 3: Configure the Helpdesk Extension
- In General settings, the Helpdesk extension can be turned on/off and customized by adjusting parameters such as position, button size, the gap between buttons, padding, color, background, and typography for the tooltip.

- In the Button settings, you can modify the icon, background color, and icon color for both normal and hover modes. If you choose to disable the sub-button, the link option and tooltip properties will become available for customization.

- For the Sub-button settings, you can add, remove, or duplicate buttons, as well as change their icons and set their background and icon colors for normal and hover modes. The link option and tooltip can also be modified.

Step 4: Save & Publish
- After completing the customization for the Helpdesk button, remember to select “Save” to save all the changes. An then back to the EComposer editor.

- Click “Save” at the top right corner and choose “Save and publish”

- Hit “View” to see the result as in this picture. The helpdesk button will appear on all store pages from the homepage, product page, blog page, collection page and more.

Watch the video guide here for better visualization.
Bottom line
In conclusion, adding a Shopify Helpdesk button to your online store is a great way to enhance your customer support services and improve the shopping experience for your customers. With the help of the step-by-step guide provided in this blog, you can easily add the button to your store and start providing top-notch customer service today.
So what are you waiting for? Follow the steps in this guide and start delighting your customers with exceptional support now!
Others also read:
How to add Shopify LightBox without coding
How to add Shopify Related Product
How to create and customize Shopify Countdown Timer






0 comments